
Last updated November 18, 2026
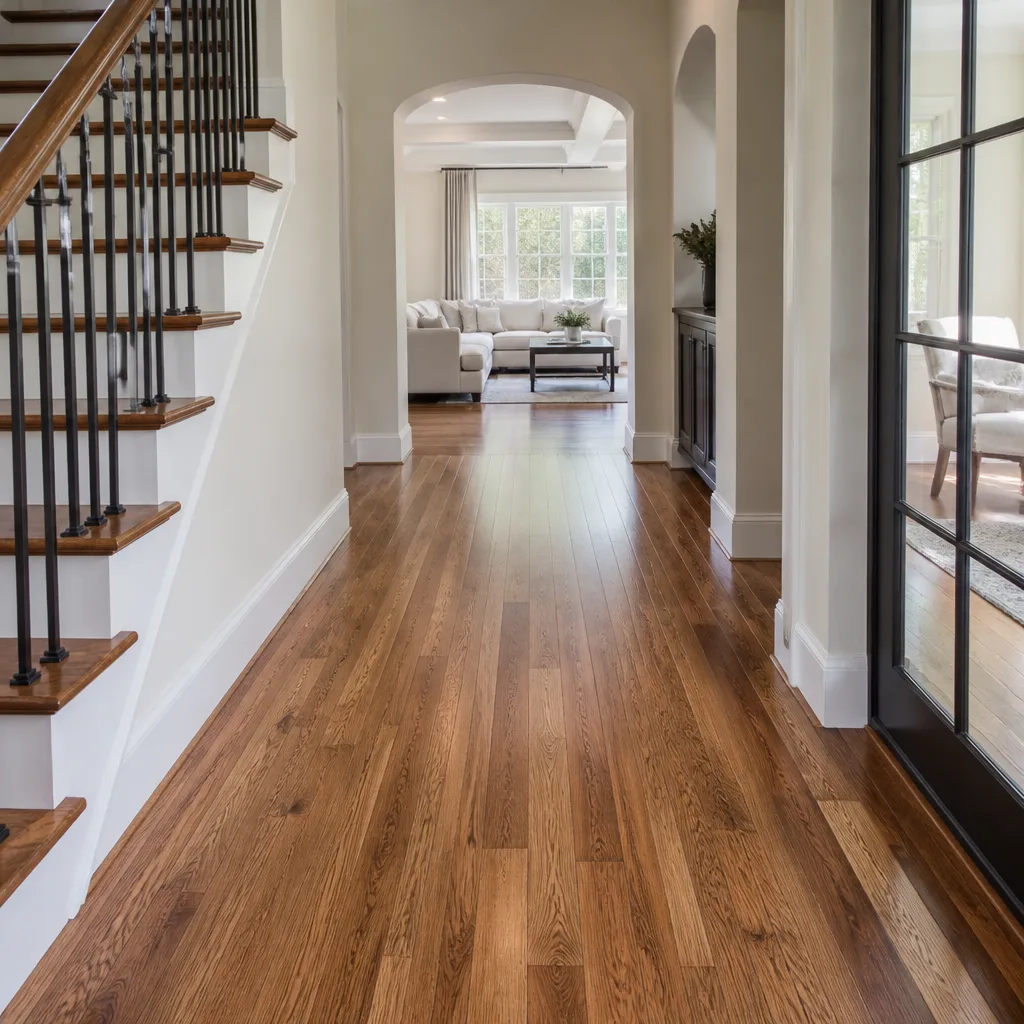 Hardwood
 Engineered hardwood
 Luxury vinyl plank
 Laminate
 Porcelain tile
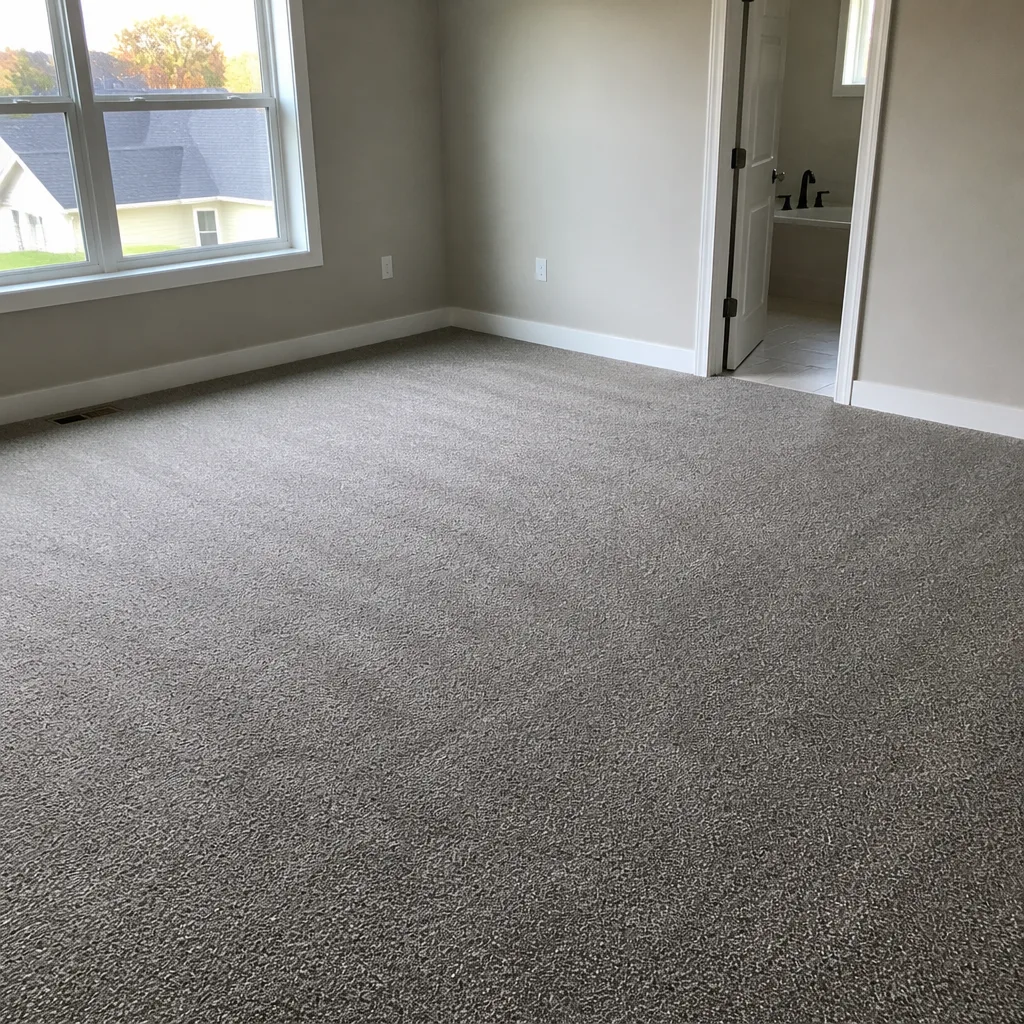 Carpet
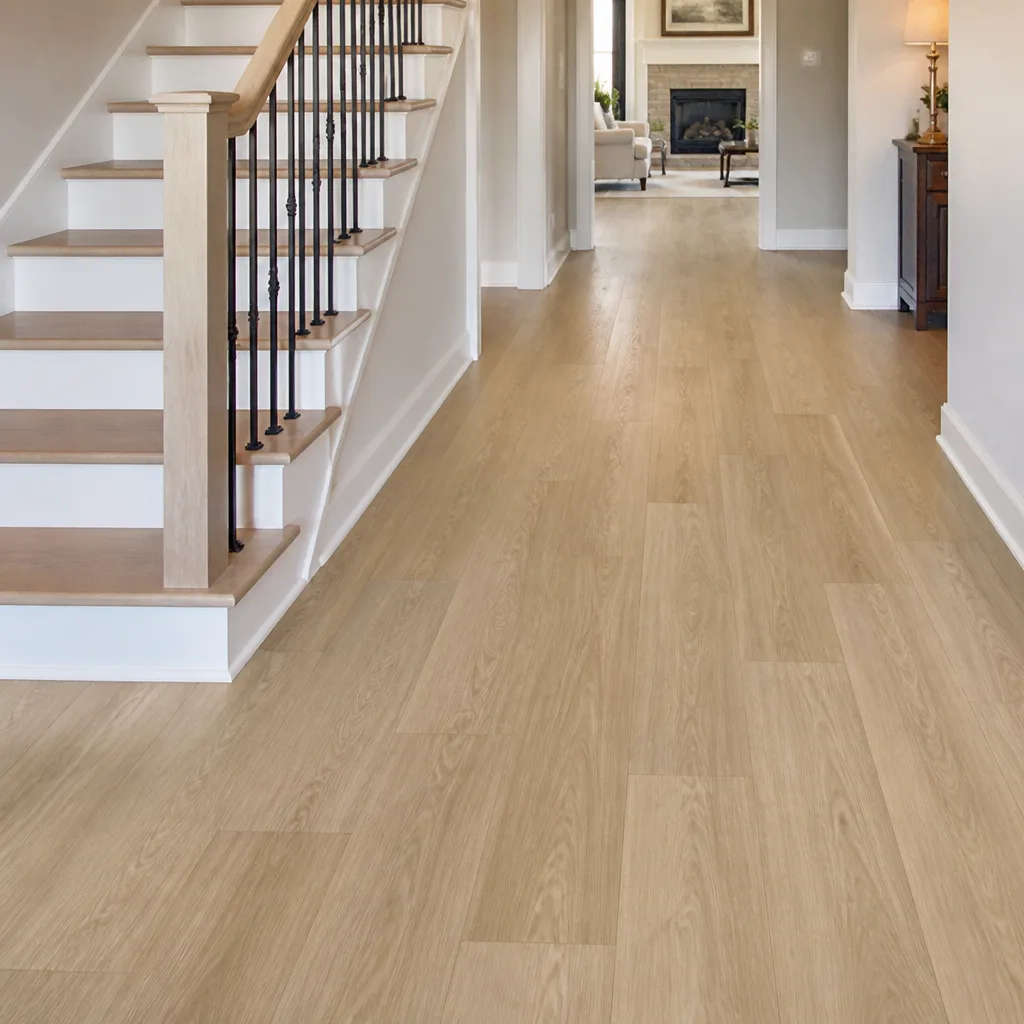 Shaw
 Mohawk
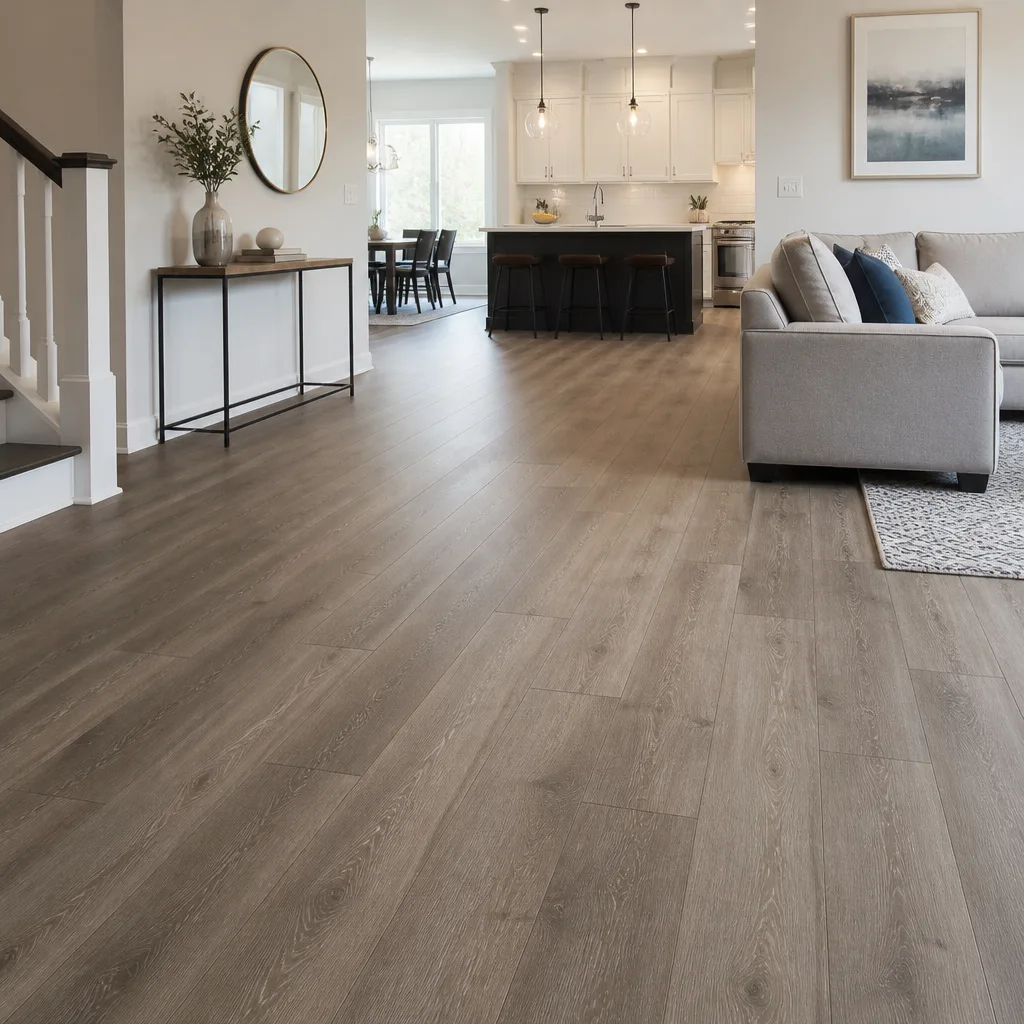 COREtec
 Pergo
Free in-home measure and written estimate: Shaw, Mohawk, COREtec and Pergo lines compared on your own rooms, with carpet, tile, vinyl plank, laminate and hardwood laid out side by side
Get your free estimateHow to Prepare Your Home for a Flooring Installation in Paradise
Most installation delays in Paradise don’t start with the contractor’s schedule. They start on Day 1, when the crew walks in and finds a bedroom set that never got moved, a refrigerator still hooked to its water line, or a soft spot in the subfloor nobody mentioned when the estimate was written. The prep work you do before that morning is what keeps a project on its timeline and your budget where you planned it. This guide walks through the prep that actually matters in a Paradise home: material acclimation in our desert temperature swings, a room-by-room checklist, the responsibilities homeowners and installers each own, and the conversations worth having before demolition starts.
Quick Answer
To prepare a Paradise home for flooring installation: clear every room of furniture and wall decor, disconnect electronics and appliances (including the refrigerator’s water line), remove old flooring trim you plan to replace, and tell your installer about past water damage or uneven spots before demo day. Have the new flooring delivered and acclimating inside the home for roughly 72 hours before install, and plan for kids and pets to be out of the work zones during install and during adhesive cure time.
Styles & brands we work with
- Hardwood
- Engineered hardwood
- Luxury vinyl plank
- Laminate
- Porcelain tile
- Carpet
- Shaw
- Mohawk
- COREtec
- Pergo
Table of Contents
- Why the 72-Hour Acclimation Rule Matters More in Paradise
- A Room-by-Room Prep Checklist
- What Contractors Expect You to Handle vs. What’s Their Job
- Protecting Cabinets, Baseboards, and Adjacent Surfaces
- The Subfloor Disclosure Conversation
- Pet and Child Logistics During Installation
- Scheduling Around Real Life in Paradise
Why the 72-Hour Acclimation Rule Matters More in Paradise
New flooring should sit inside your home for about 72 hours before installation begins. That window lets the material adjust to your indoor temperature and humidity, which is exactly what it needs to settle into place correctly once it’s installed. Skipping it is one of the most common causes of gapping, buckling, and edge lifting.
In Paradise this rule is not optional, and it’s a bigger deal than it is in milder climates. Summer afternoons here push past 110°F outside while your home’s air conditioning keeps indoor temperatures closer to 75°F. That’s a large swing for a pallet of flooring that just came off a delivery truck. Solid hardwood, engineered wood, and luxury vinyl all respond to temperature and humidity differently. A box that sat in a hot delivery truck all morning is not in the same condition as the floor it’s about to become.
Tile is a somewhat different story. Ceramic and porcelain don’t expand and contract the way wood and vinyl do, so acclimation for tile matters less, but the thinset and grout still cure best at interior temperatures. Don’t install tile in an unconditioned room, or with the HVAC off during summer, and expect the same result.
Practical steps for the acclimation window:
- Have the boxes delivered to the room where they’ll be installed, or the closest climate-controlled space.
- Lay the boxes flat, stacked no higher than the manufacturer recommends, and don’t open them yet.
- Keep the HVAC running at your normal indoor setpoint during the full window.
- Don’t acclimate material in a garage or on a covered patio in summer – both get far hotter than the interior.
- Don’t move boxes outside again after they’ve been acclimating indoors.
If you’re in a rental or a home where the delivery has to arrive days earlier than usual, that’s fine – a longer acclimation window won’t hurt. Just make sure it’s inside and in a conditioned space.
A Room-by-Room Prep Checklist
Prep doesn’t have to be complicated, but it does have to be thorough. Here’s what each room needs before installation day arrives.
Every Room
- Move all furniture out of the room, including small items like lamps, side tables, and floor plants.
- Take everything off the walls – pictures, mirrors, shelves, and anything that might shake loose during demolition.
- Remove area rugs, curtains, and window coverings that reach the floor.
- Clear closet floors completely; that means everything, not just the front half.
- Empty and move any freestanding shelving or bookcases.
Kitchens
- Empty the refrigerator, unplug it, and disconnect the water line if it’s an ice maker or water dispenser model.
- Clear the pantry floor and the bottom cabinets so installers can reach the toe kick and flooring edges.
- Plan to have the refrigerator and stove moved out to another room, or coordinate with the installer in advance for appliance moving.
Bathrooms
- Remove the toilet if you’re replacing bathroom flooring – discuss this with your installer during the estimate, since it’s a coordination point, not something you do mid-project.
- Clear the vanity of loose items, and remove any floor mats or freestanding storage.
Bedrooms
- Empty the closets. Empty the closets again. Seriously.
- Disassemble large beds if the room won’t be cleared otherwise.
- Remove ceiling fan pulls and anything low-hanging that could catch during demo.
Hallways and Stairs
- Remove all decorative items from walls and floor.
- Confirm with your installer how stair railings and balusters will be handled.
If your home is occupied during installation and you can only clear part of it, tell us which rooms are priorities so the schedule can be built around that instead of around a full clear-out.
What Contractors Expect You to Handle vs. What’s Their Job
This is the boundary most homeowners get wrong, and it’s where friction shows up. Installers are there to install flooring; they’re not there to move a grand piano down a flight of stairs or sort through twenty boxes of holiday decorations in a closet. Here’s the split in plain terms.
What the homeowner handles
- All personal belongings, furniture, and decor – moved out of the work area before the crew arrives.
- Electronics, TVs, computers, and anything with a cable: unplugged and moved.
- Refrigerator contents and the water line disconnect, unless you’ve arranged otherwise with the installer.
- Pets and children: secured in a room that isn’t being worked on, or out of the house.
- Parking access, if there’s a driveway or gate the delivery truck needs.
What the installer handles
- Removing the old flooring (carpet, tile, or hardwood) as part of the written scope.
- Inspecting and prepping the subfloor, including patching, leveling, or replacing damaged sections.
- Installing the new floor, trim, and transitions.
- Hauling away old flooring and debris.
- Reconnecting appliances the crew disconnected as part of the install, if that’s in the scope. Confirm this in writing before the day arrives.
What needs a conversation
- Pianos, safes, aquariums, and other heavy or delicate items.
- Furniture disassembly and reassembly.
- Toilet removal and reinstallation.
- Refrigerator and stove moving.
- Paint touch-ups after new baseboards go in.
If you’re not sure which column something falls in, ask at the estimate visit. That’s the right time to find out – not an hour into demo.
Protecting Cabinets, Baseboards, and Adjacent Surfaces
Professional crews protect the surfaces you’re not replacing, because damage there causes disputes after the job. Here’s what proper protection looks like in a Paradise home.
- Cabinets: Lower cabinets get covered with paper or plastic film before demo, especially in kitchens where tile demo will throw chunks of thinset and old grout.
- Baseboards: Any baseboard that stays in place gets taped or covered. Baseboards that are being replaced usually get removed, and that removal can damage the drywall behind them – which you’ll want to know about before it happens.
- Door casings and jambs: Film or paper across the face of every jamb and casing, since a demo cart or a bundle of flooring can take a chunk out of a corner.
- Hallway corners: Corner guards on any turn the crew has to make with a bundle of material.
- Stair rails and banisters: Wrapped, since a wrap of painter’s tape and stretch plastic is cheap and a scuffed banister isn’t.
- Fireplaces and fixed features: Covered. They don’t move, and stone and brick chip.
What does a DIY prep mistake look like? Usually one of two things. Either the homeowner skips protecting a cabinet face and the tile demo pockmarks it, or the homeowner does the protection themselves with the wrong tape – blue painter’s tape on a painted surface is fine, but duct tape on a cabinet finish can pull up the veneer. Leave the protection to the crew. They know which materials hold up to what, and the estimate includes that step.
The same thinking applies to baseboards. If you plan to remove and replace baseboards yourself, that’s your call – but know that removing baseboards isn’t a scuff-free job, and any repair work on the drywall behind them isn’t part of the flooring scope unless it’s in writing. Ask at the estimate.
The Subfloor Disclosure Conversation
Tell your installer everything you know about your subfloor before demo day. This is the single biggest thing you can do to keep a project on schedule.
The subfloor is what’s underneath the finished floor – usually plywood, OSB, or a concrete slab, depending on the construction. In a Paradise home, especially one built in the 1980s or 90s, there are a few things worth mentioning.
- Any past water event: a slab leak, a supply line break, a slow refrigerator drip, a tub overflow, a monsoon-season window leak. Even if it was repaired and looks dry now, the underlying subfloor may need special handling.
- Any uneven or soft spot: a spot where the floor flexes when you walk across it, a slope that only shows up when a marble rolls across it, or a visible dip at a doorway.
- Existing adhesive: if the old flooring has been glued down, especially vinyl or glue-down tile, the adhesive gets removed or covered before the new floor goes in. Adhesive removal is part of the scope, and it’s worth confirming with your installer during the estimate.
- Previous flooring replacements: if a previous owner layered flooring over the original, you’ll want your installer to know so they know what they’re pulling up.
- Concrete slab issues: if your home is on a slab and you’ve seen cracks, dusting, or efflorescence (the white powder that appears on concrete), mention it.
Why does this matter so much? Because the crew brings the right tools to the right job. If a subfloor is uneven, they need to plan for leveling compound, which takes extra time and material. If there’s water damage, they may need to open a section, dry it out, or replace it. If there’s old adhesive, they need the equipment to remove it. None of that is a surprise when it’s disclosed; all of it is a delay when it isn’t. There’s no reason to hold back – the honest conversation protects you, not the installer.
Pet and Child Logistics During Installation
Floors going in are not a household routine situation, and getting pets and kids right before install day saves you a week of stress afterward.
Pets
- Plan for pets to be out of the house or in a closed room away from work zones for the full install day.
- Keep pets off the new floor until it’s set per the product instructions and the written estimate.
- If you’re using COREtec or LifeProof in a pet-heavy household, these are water-resistant options worth discussing at the estimate – but new flooring doesn’t change pet behavior, and it’s worth keeping nails trimmed and feeding stations on mats regardless.
Kids
- Plan for kids to be out of work zones during install and for the cure times below.
- If a child’s room is being redone, that’s the room to schedule first so the household can shift around it.
- Assume at least 24 hours of absence from work zones for hardwood refinishing and tile adhesive work, and longer for the finish on hardwood to fully cure.
Adhesive and finish cure times
Tile adhesive (thinset) sets up over several hours and cures further over the following days – the exact timing depends on the product and is set in the written estimate and the manufacturer’s instructions. Hardwood refinishing finishes (polyurethane or similar) cure at a rate that depends on product, humidity, and airflow. In Paradise’s dry climate, finish can dry faster than in a humid climate, but the room still needs to stay clear and ventilated per the finish directions, which isn’t something to shortcut. A 24-hour absence from the work zone is a reasonable baseline for tile and refinishing; hardwood refinishing may require longer for full cure before heavy furniture goes back.
Dust matters too. Tile demolition creates dust, and hardwood sanding creates significantly more. Crews use plastic containment and dust collection where possible, but the rooms adjacent to the work area should still be planned around, not walked through casually. Expect to wipe down surfaces a day or two after the work finishes.
Scheduling Around Real Life in Paradise
Floors are a scheduled job, not a same-day visit. The estimate visit comes first, the written price comes second, and the install day is booked after that so both sides know what’s happening. Here’s how the schedule generally moves.
- The estimate visit. We come out, walk the rooms, look at the subfloor, and talk through materials and scope. We measure and write you a price. This is where the “who does what” conversation happens too.
- Material delivery. Boxes arrive ahead of install day and start the 72-hour acclimation window inside the conditioned home.
- Clear-out deadline. You clear furniture, decor, appliances, and closet contents before the install date.
- Install day. Crew arrives, protects surfaces, demos old flooring, preps the subfloor, lays the new floor.
- Cure and inspection. For tile and refinishing, the room stays clear during cure. For any flooring, we walk the finished job with you before we consider it done.
Call (888) 343-1639 to schedule your free estimate. We’re happy to walk through scope and responsibility during that visit so you know exactly what to prep and when.
Common Mistakes to Avoid
- Acclimating flooring in the garage or on the patio. The Palmdale effect – sorry, the Paradise effect – is that a garage in summer easily reaches 100°F or higher. Flooring acclimated out there and then installed inside will not be in the same condition as flooring acclimated in the air-conditioned home.
- Leaving the refrigerator connected and stocked. A water line left connected during demo can leak into the new subfloor, and a stocked fridge can’t be moved to make room. Empty it, disconnect the line, and plan the move beforehand.
- Not mentioning past water damage. A homeowner who had a supply line leak five years ago may not think to mention it, but the resulting subfloor stains or soft spots change what tools the crew needs and how long the install takes.
- Doing your own surface protection with the wrong tape. Duct tape on cabinets or painted baseboards can pull finishes up. Leave the protection to the crew.
- Underestimating closet clear-outs. Some of the biggest delayed starts we see happen because a closet was “mostly empty” but still had twenty boxes of holiday decorations on the floor.
- Planning to be in the room during tile demo dust. Tile demo creates real dust, even with containment, and hardwood sanding creates more. Plan to be out of the work zones for the install day and the day after.
- Skipping the “who handles X” conversation. Toilet removal, appliance moving, and furniture reassembly are the three biggest scope mix-ups. If it’s not written down at the estimate, it’s not in the price.
See the difference
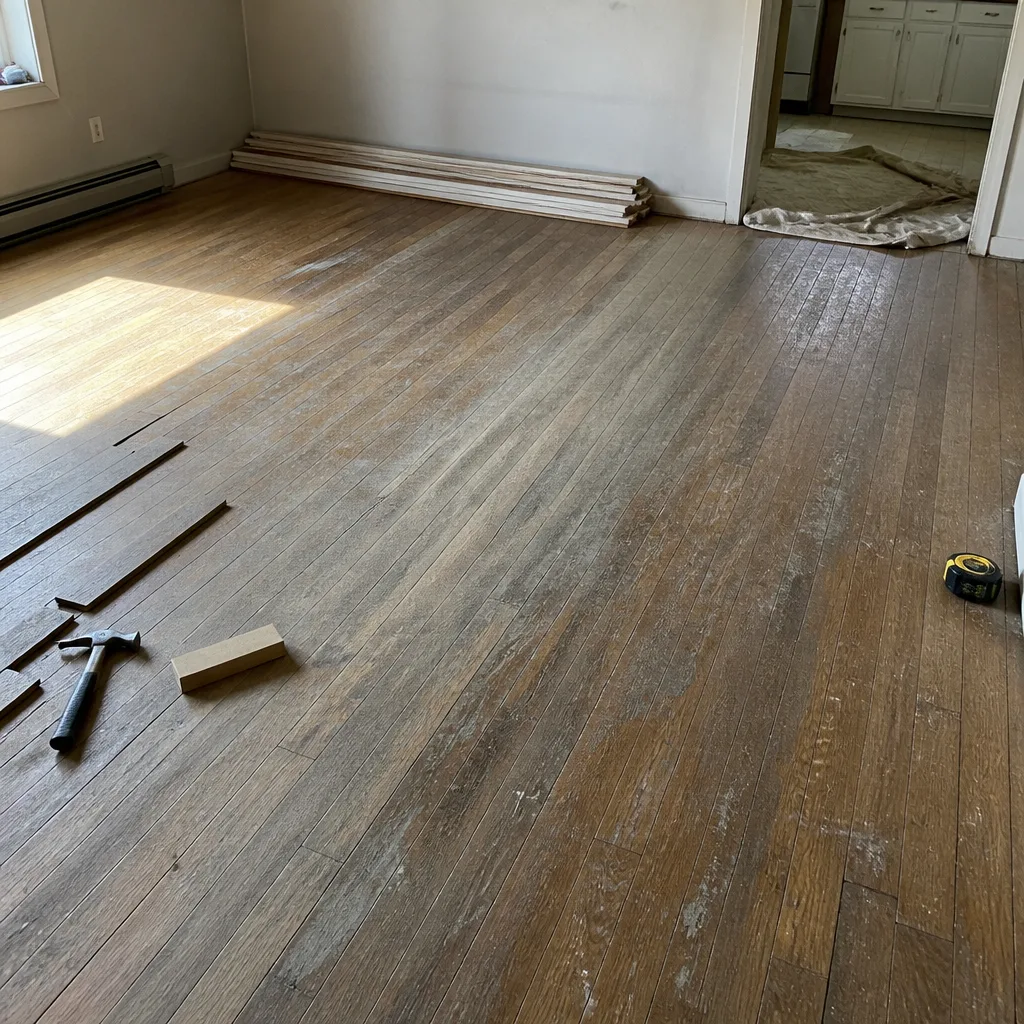 Before
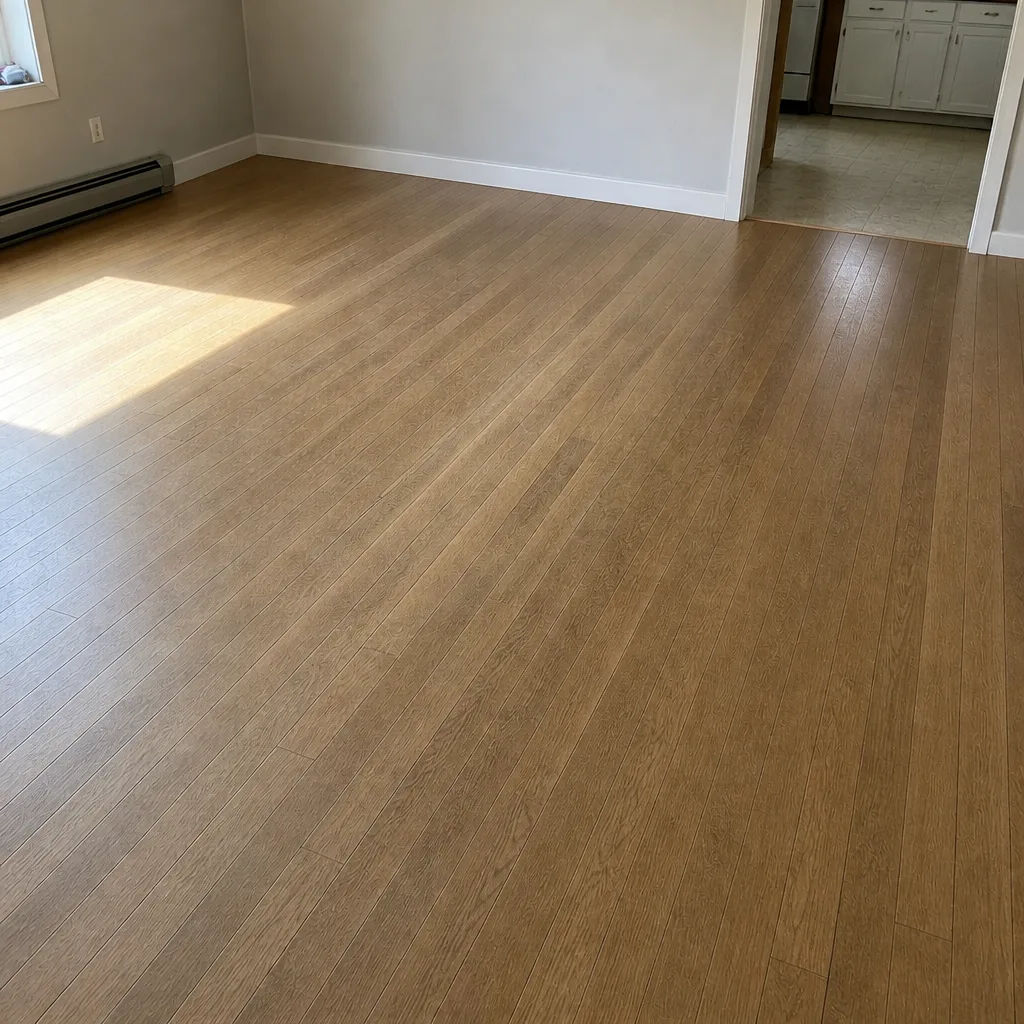 After
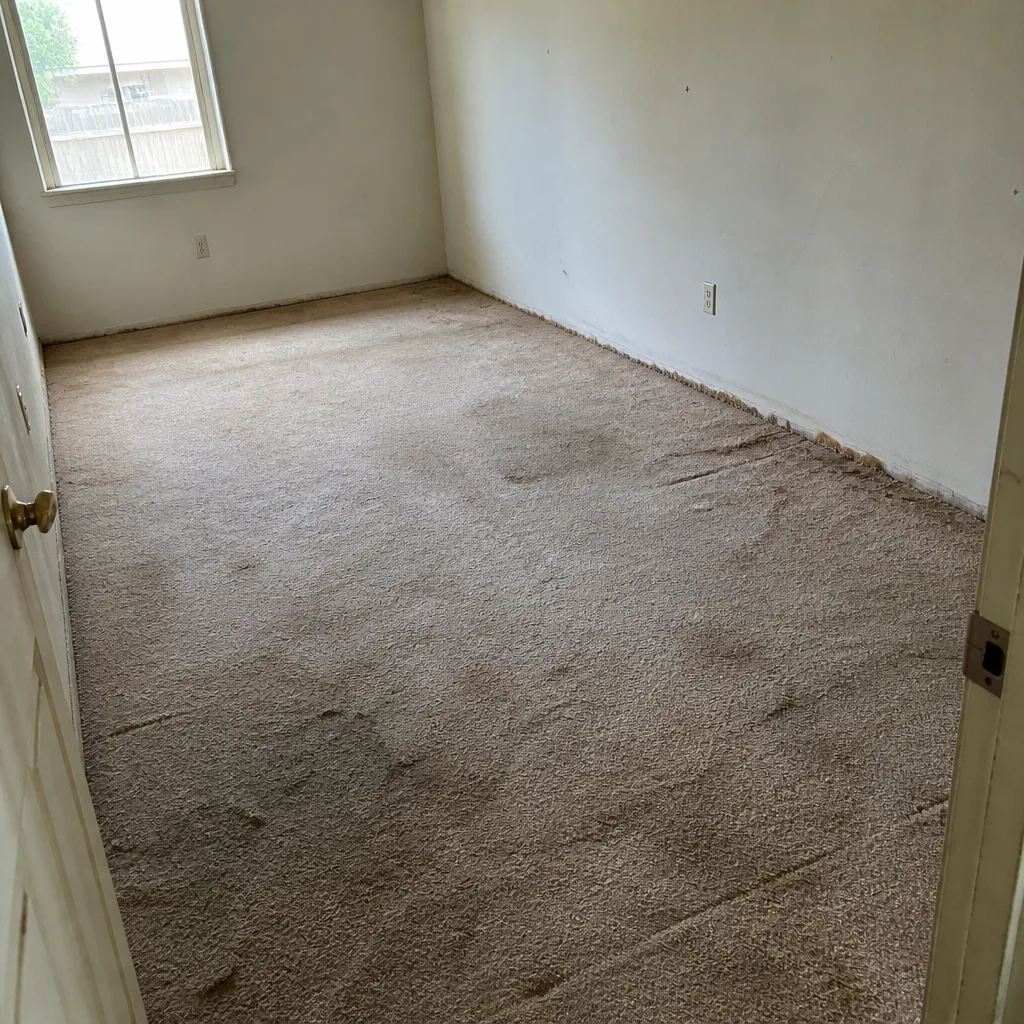 Before
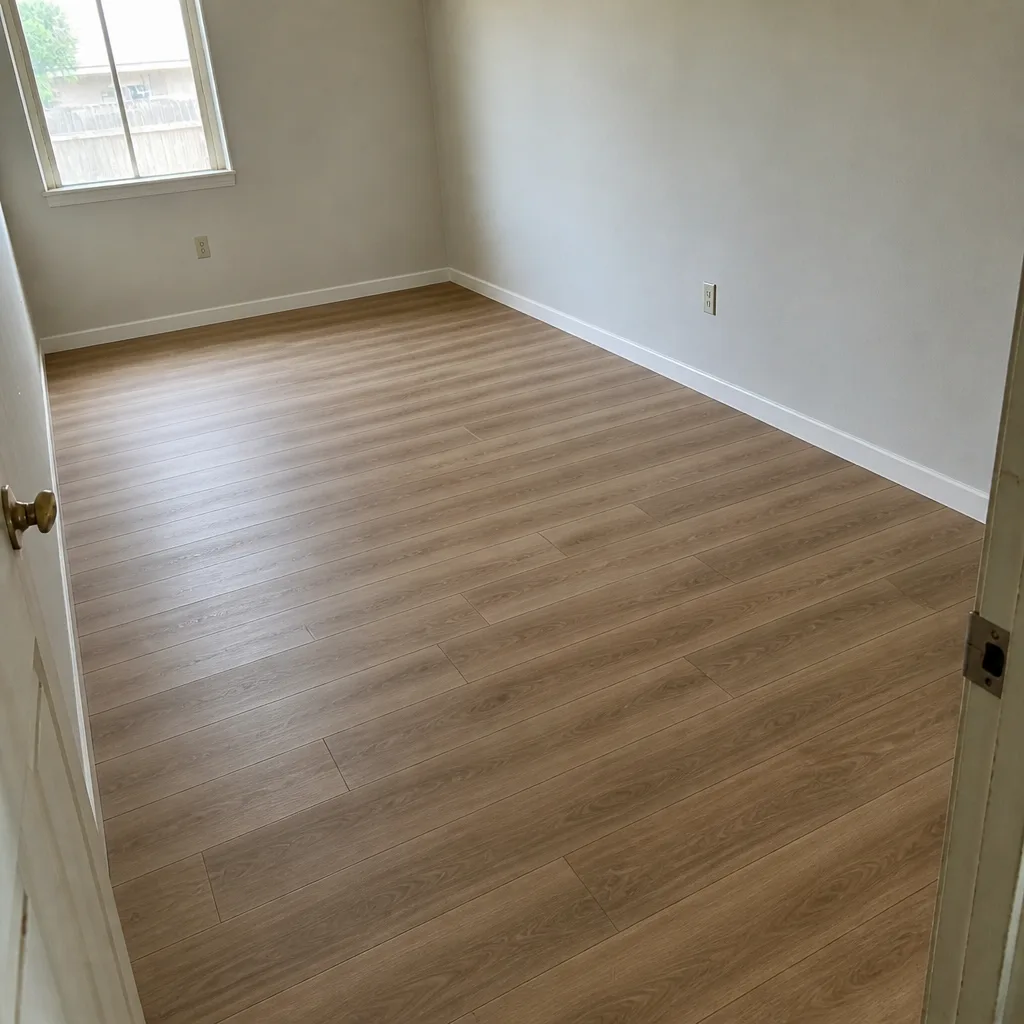 After
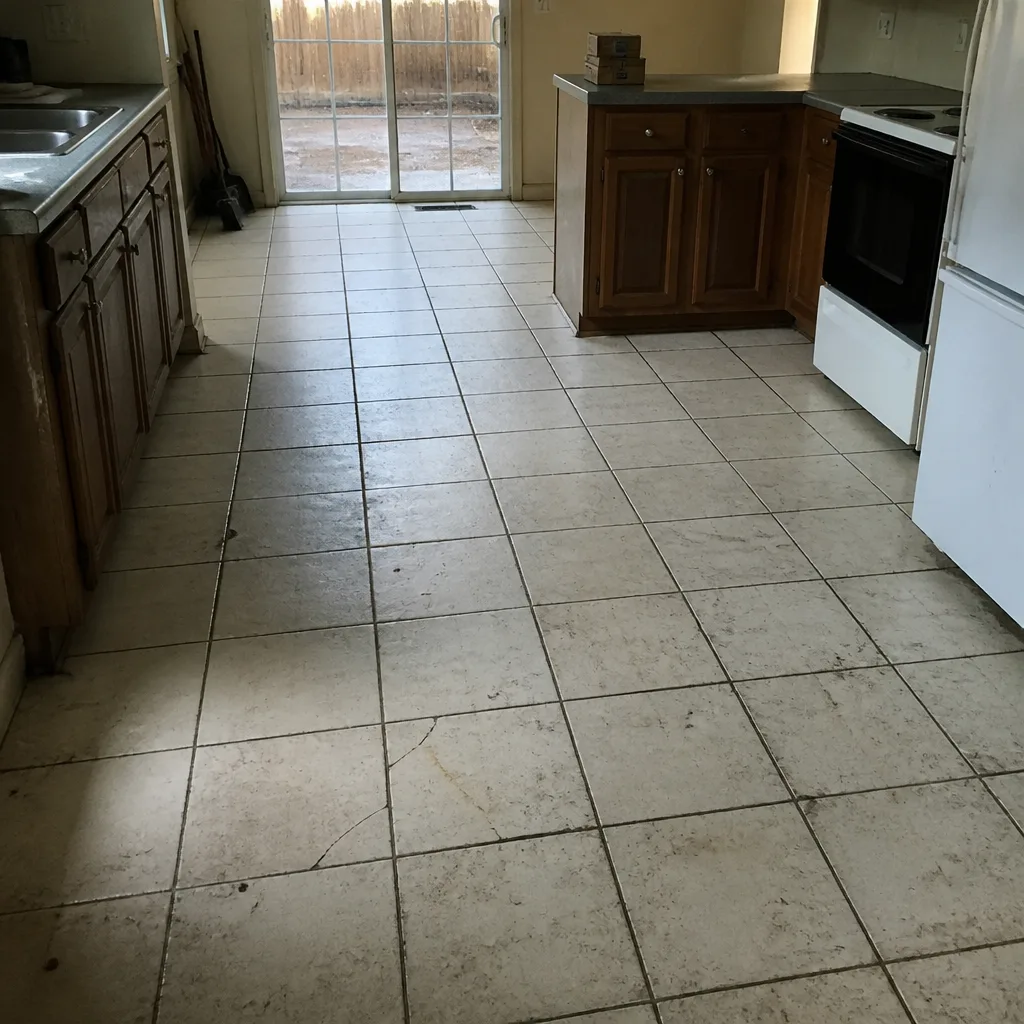 Before
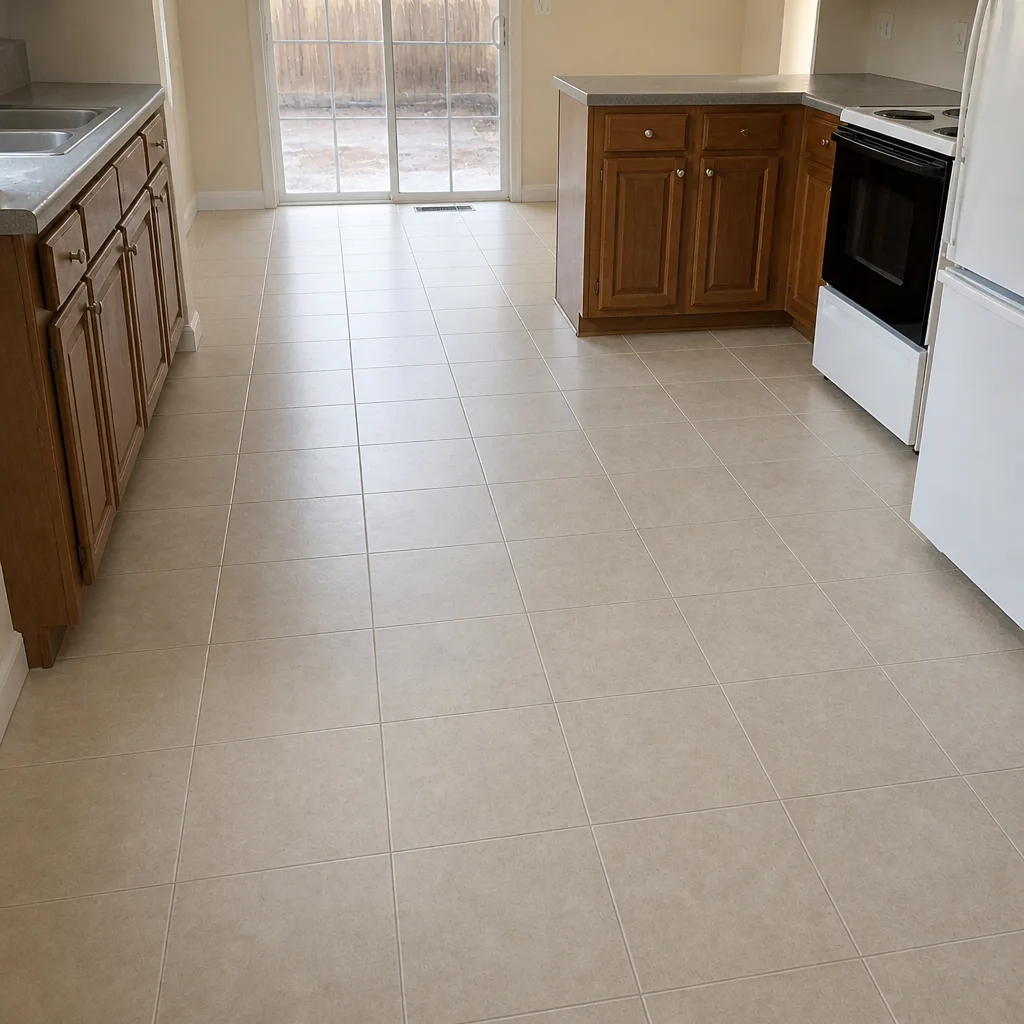 After
When to Call a Professional
Prep is something most homeowners can handle. Installation is not – and the calculation on when to call us is simple. If you’re replacing carpet, tile, or hardwood, if you’re refinishing a hardwood floor that’s worn but still sound, if the subfloor condition is uncertain, if the room layout crosses multiple flooring types, or if the project involves a rental property where you need the whole thing coordinated in one schedule, that’s the estimate visit. Call Flooring Installation Paradise at (888) 343-1639 to schedule your free estimate in Paradise; we’ll walk the rooms, talk through the material and the prep, and give you a written price before you commit to anything.
Frequently Asked Questions
About 72 hours indoors, with the HVAC running at your normal temperature. In Paradise, the swing between a hot delivery truck and a 75°F air-conditioned home is large, so acclimating inside a conditioned space is worth the extra days. Concrete, tile, and thinset products don’t need the same window, but they do need an interior temperature during install – never install with the HVAC off in summer. Call (888) 343-1639 to schedule your free estimate and we’ll confirm the timing for the specific product.
Yes – all personal belongings need to be out of the work area before install day. That includes closets, small items, and decor. Heavy and delicate items like pianos, safes, and aquariums need a conversation at the estimate visit so we can plan for them. Call (888) 343-1639 for an estimate that covers scope and move-out planning.
It shows up as an unexpected delay during install. Water damage to a subfloor can mean the crew needs to dry a section, patch it, or replace it, and that work needs time and materials. Disclosing past water events – even ones that look repaired – at the estimate avoids the surprise. Call (888) 343-1639 to schedule a free estimate and talk it through.
It depends on room count, flooring type, and subfloor condition – all of which we measure at the estimate visit. The schedule is set at the estimate, not before, so you’ll have a written timeline before install day. Call (888) 343-1639 to schedule your free estimate.
Usually yes, if part of the home is clear of work zones. That means pets and kids out of the work area, and the room being installed out of daily use during install and cure. For hardwood refinishing and tile adhesive work, plan at least 24 hours out of the work zone, and check the written estimate for the specific cure time for your product. Call (888) 343-1639 for an estimate tailored to your home.
Yes. Our estimates are free, and the written estimate you receive sets the price. We come out, look at the rooms, measure, and talk through materials, subfloor condition, and the scope of labor before any number is written. Call (888) 343-1639 to schedule yours.
The Bottom Line
Preparing your Paradise home for flooring installation comes down to four things: clear the rooms, disclose what the subfloor has been through, plan for acclimation indoors, and confirm scope in writing at the estimate. Do those, and the crew that shows up on Day 1 has everything they need to finish on schedule. The new floor isn’t the hard part – the prep is what makes the install clean. Whether you’re installing from scratch or considering a hardwood refinish instead of a full replacement, the estimate visit is where all of it gets settled. We install and refinish floors across Paradise, and we’d rather you know what you’re walking into than figure it out from a mid-project surprise. Flooring Installation Paradise handles carpet, tile, and hardwood under one schedule so you’re not coordinating between multiple vendors. If your project includes soft surface or tile work, our carpet installation and tile flooring installation pages walk through the process milestones from first visit to final walk-through. Book a scheduled estimate and we’ll confirm timing. Call (888) 343-1639. We answer 24/7. Fast dispatch from 7am to 7pm, Sunday through Friday. You can also learn more about our home market on the Paradise page.
Written by the team at Flooring Installation Paradise.