
Last updated November 18, 2026
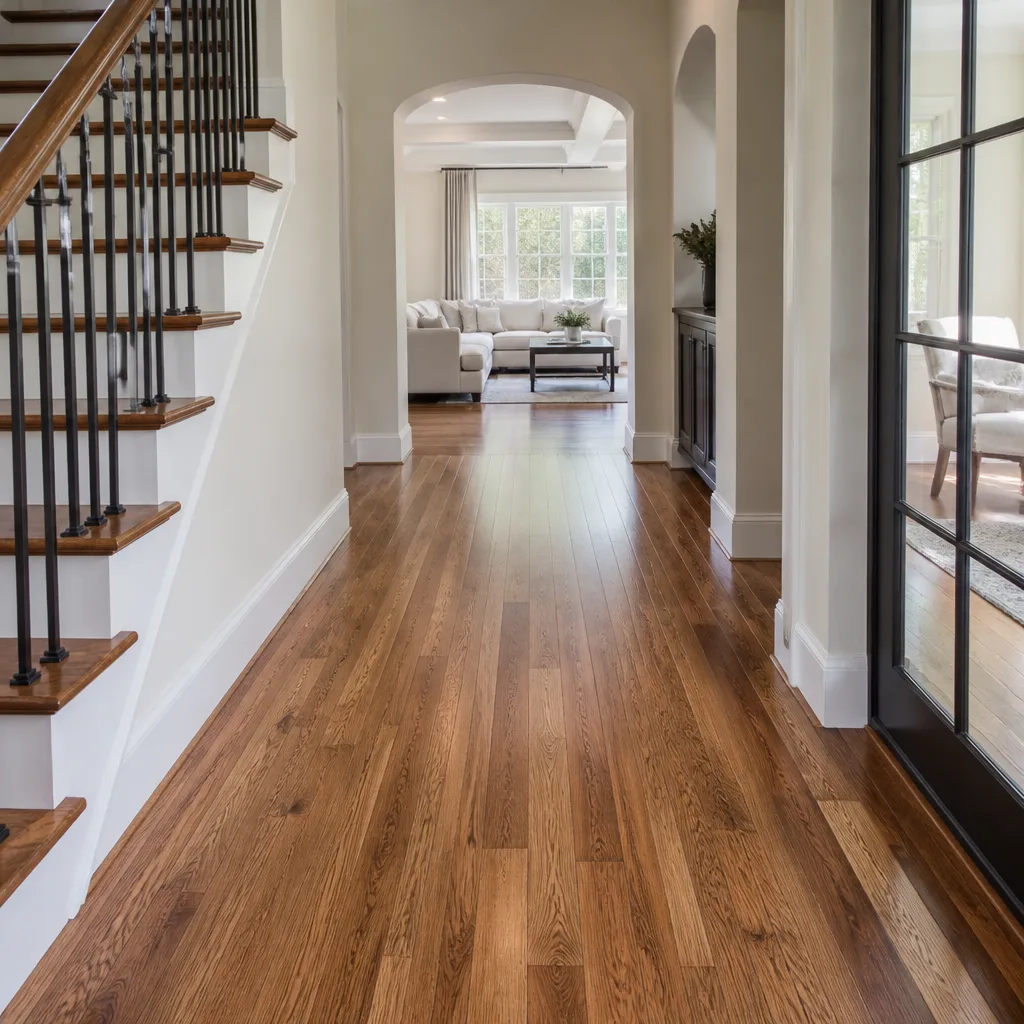 Hardwood
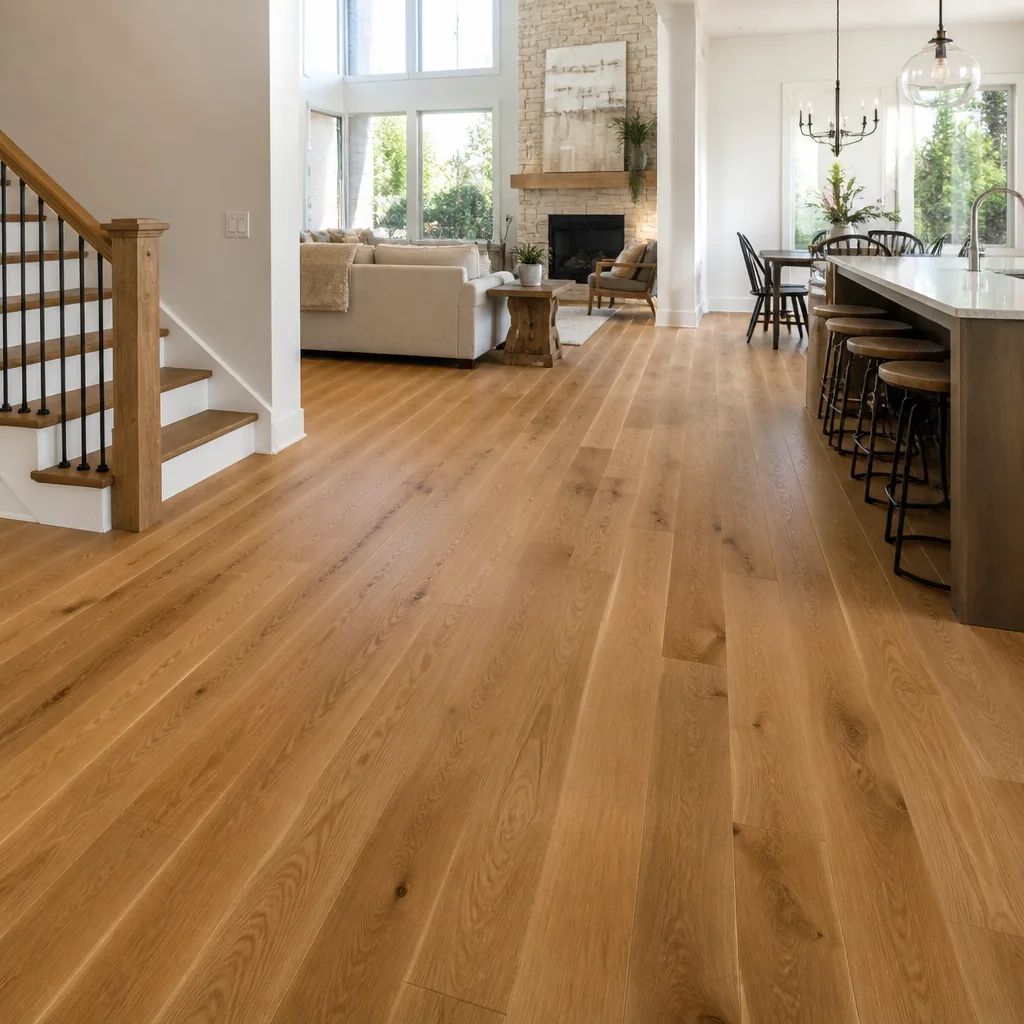 Engineered hardwood
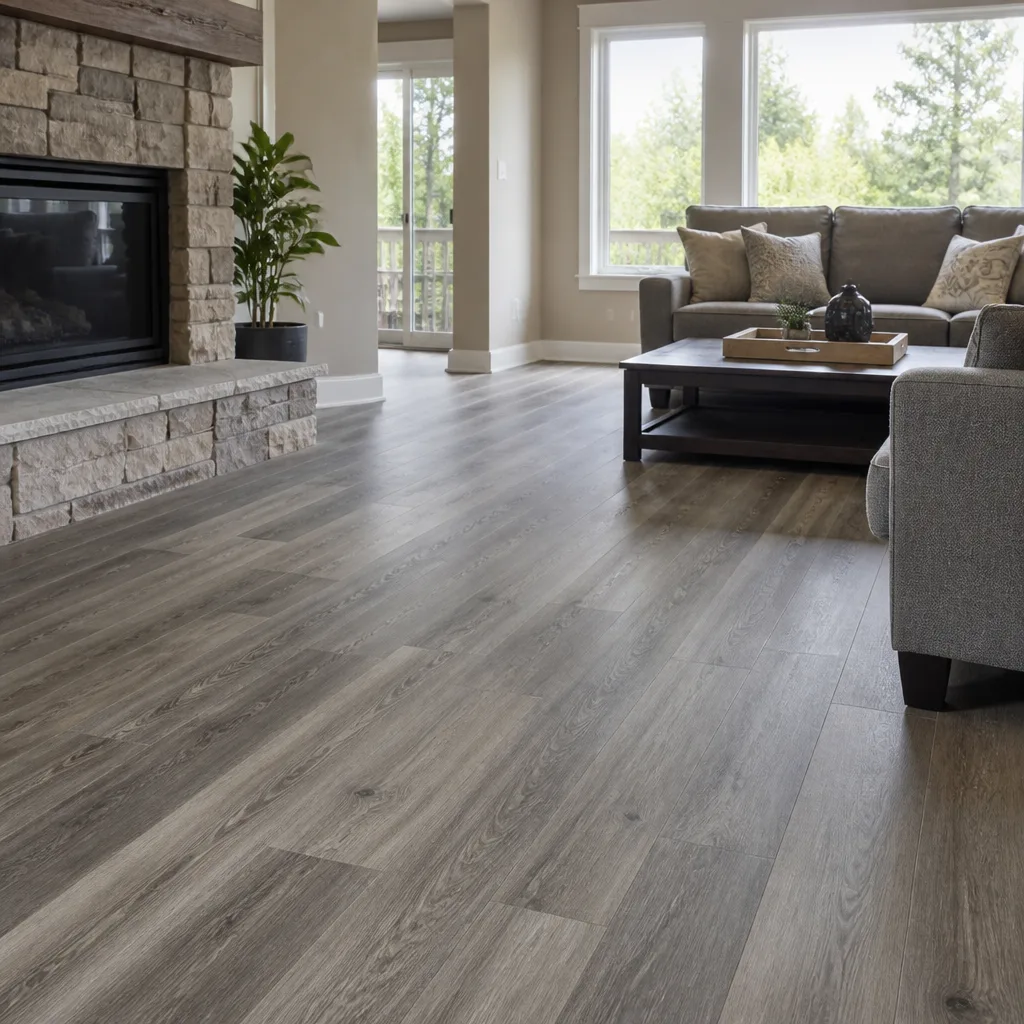 Luxury vinyl plank
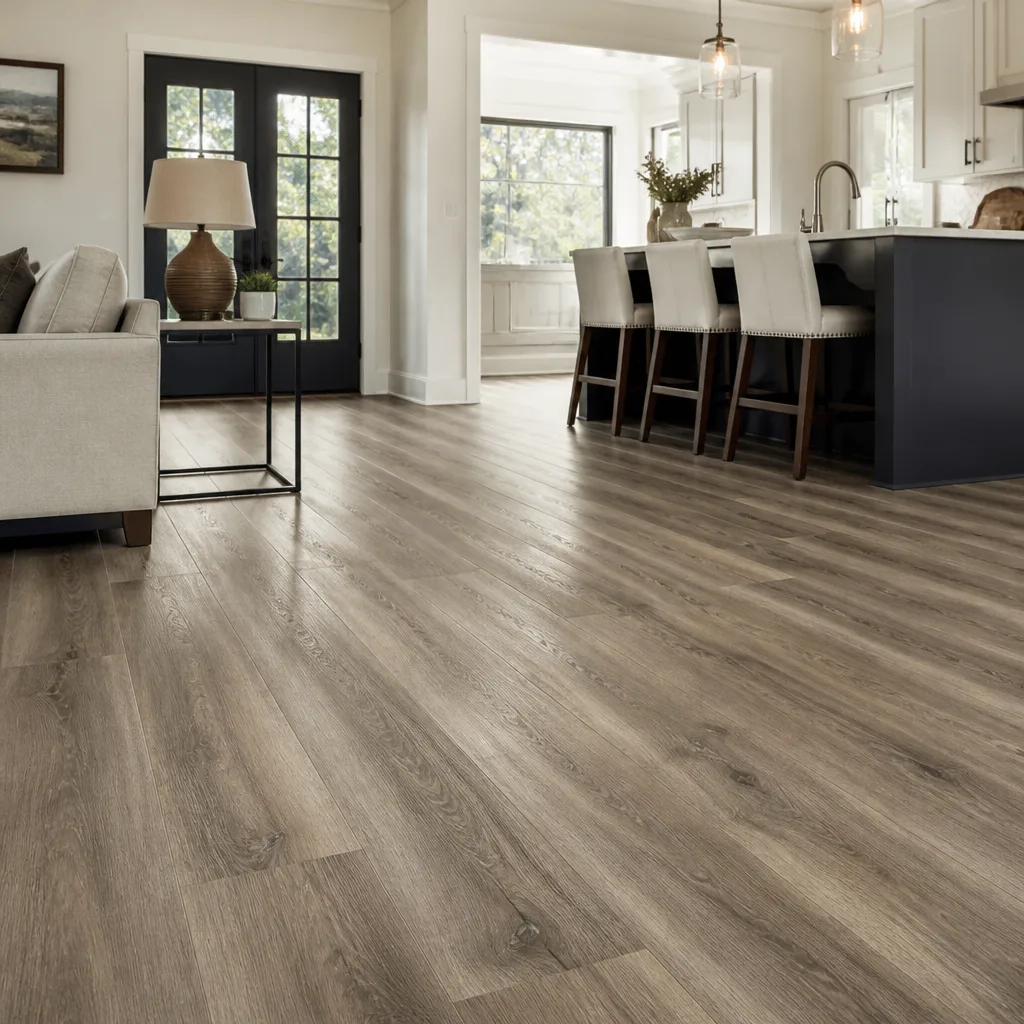 Laminate
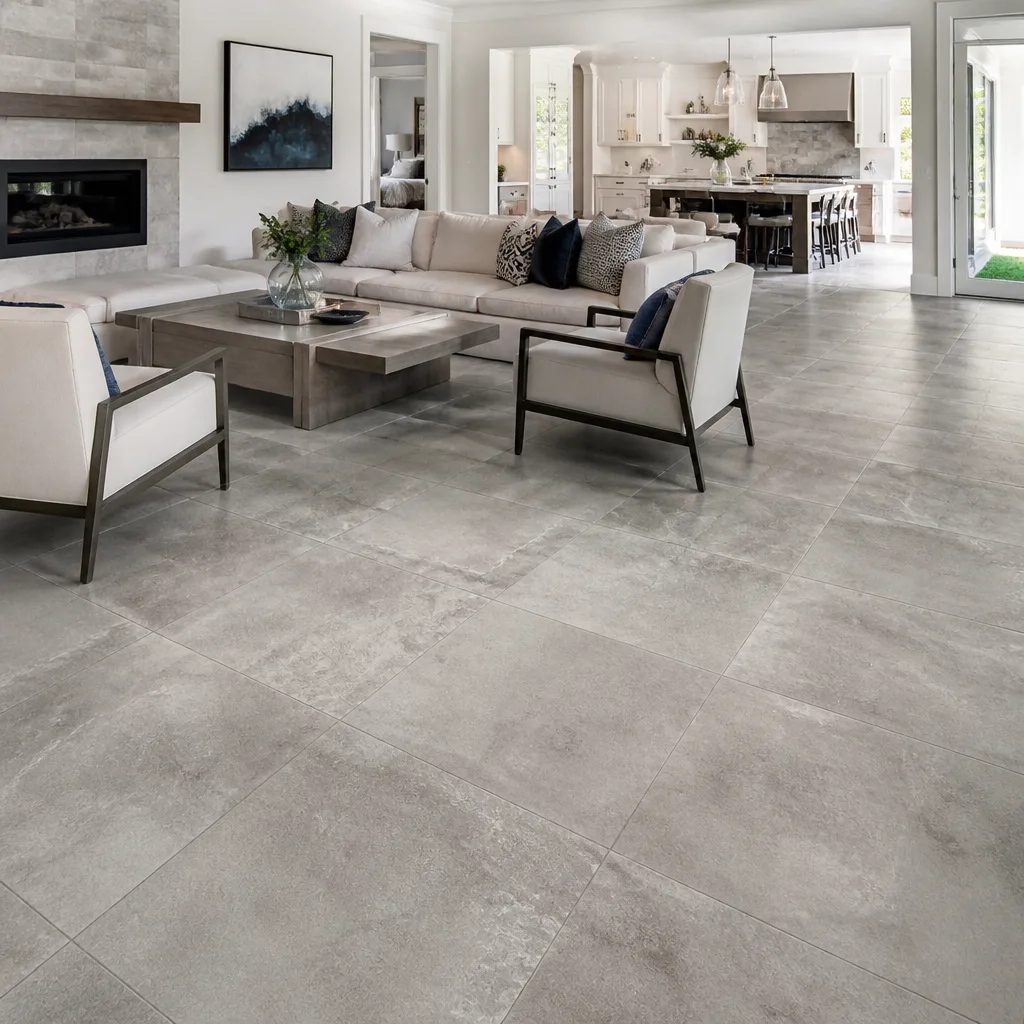 Porcelain tile
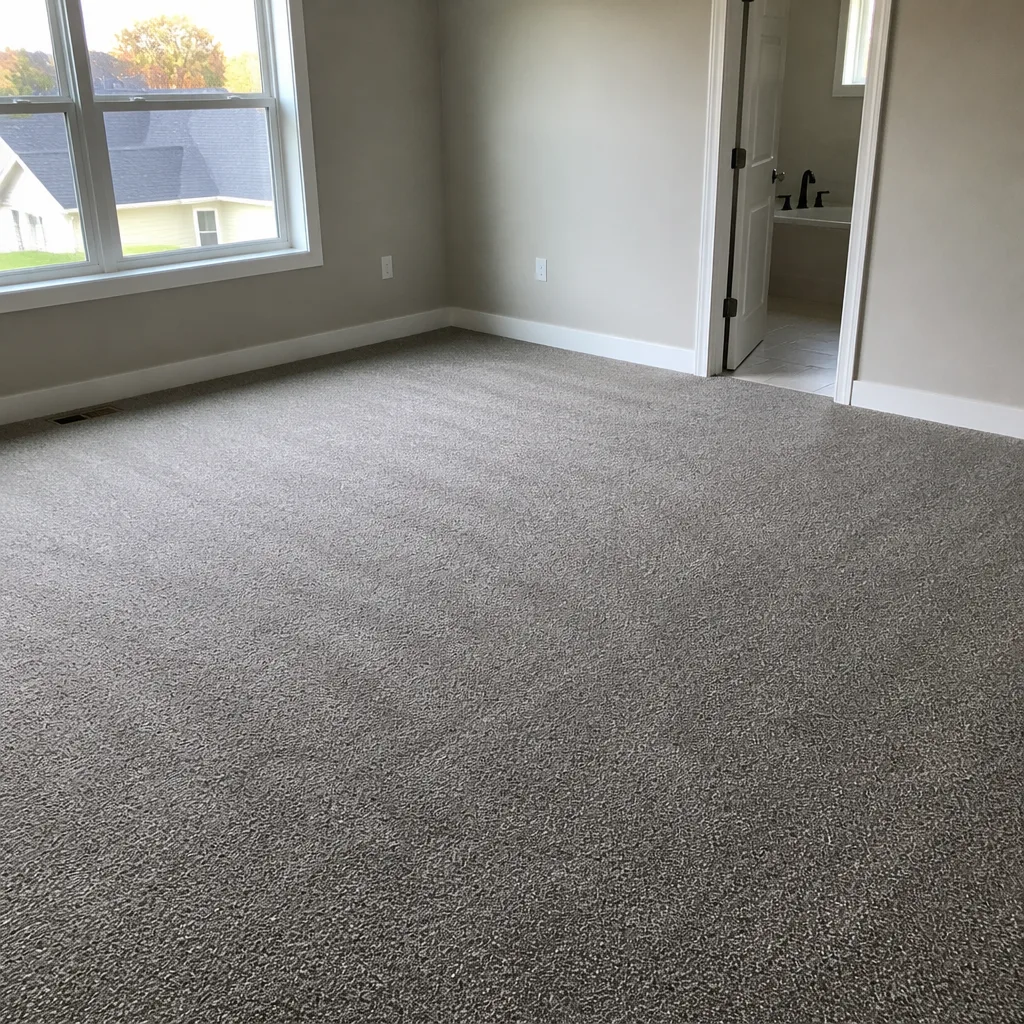 Carpet
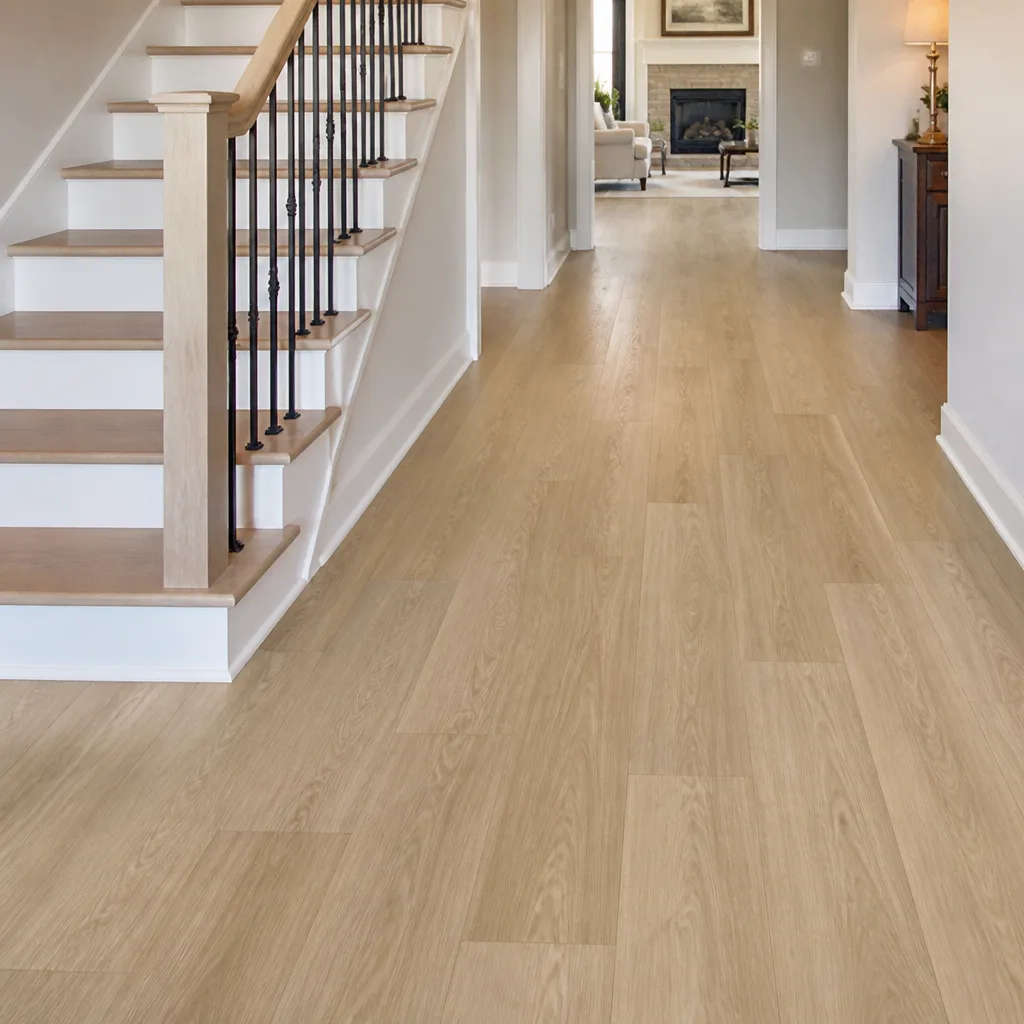 Shaw
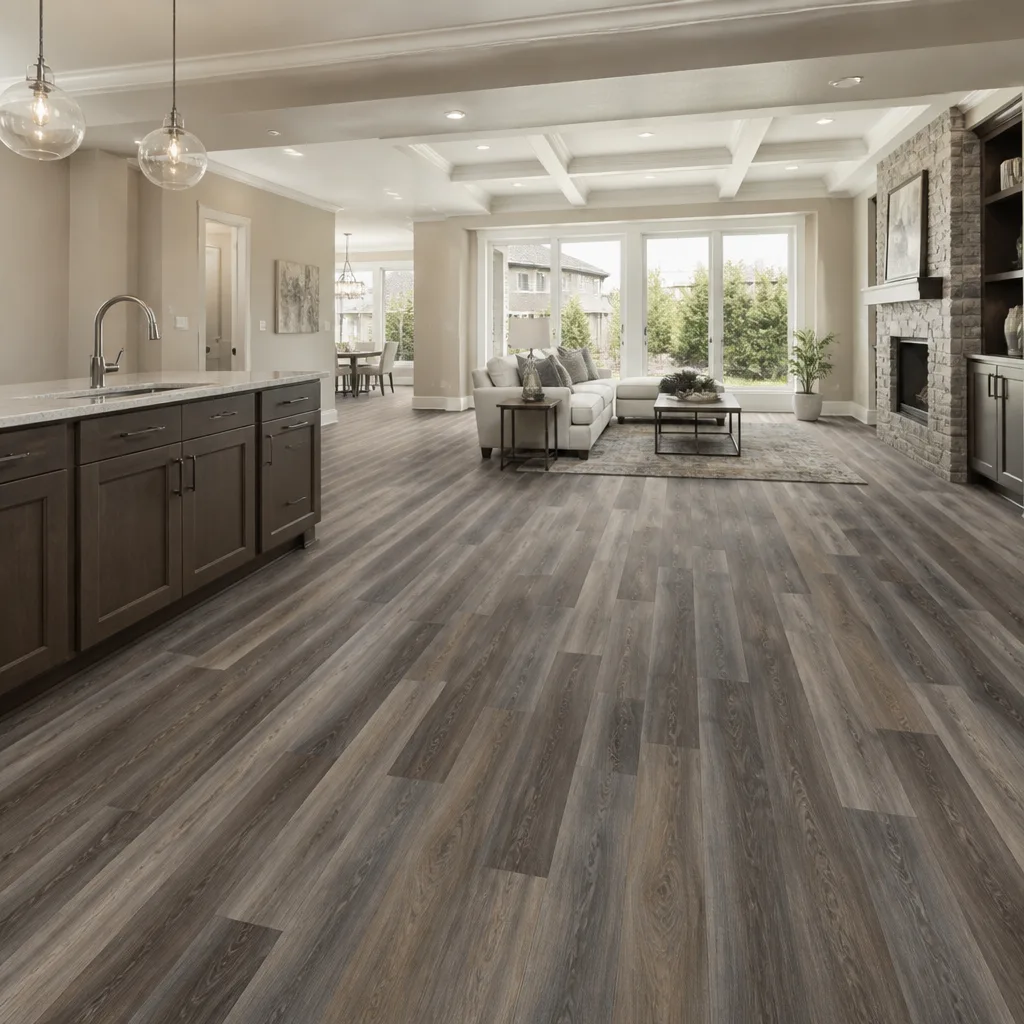 Mohawk
 COREtec
 Pergo
Free in-home measure and written estimate: Shaw, Mohawk, COREtec and Pergo lines compared on your own rooms, with carpet, tile, vinyl plank, laminate and hardwood laid out side by side
Get your free estimateSubfloors Explained: What Sits Under Your New Floor
Most flooring failures we get called out to look at were blamed on the material first. Bubbling luxury vinyl planks, grout lines that crack within a year, hardwood edges that cup and lift. In our experience, the material is rarely the culprit. The subfloor underneath it is. Paradise sits almost entirely on post-tension concrete slabs, and that one fact changes everything about how a floor should be prepped, floated, and separated from the ground below. Concrete looks dry in the desert. It is not. This guide walks through what actually sits between your slab and your new floor, how installers test and correct it, and what to ask before you sign off on install day. You’ll learn the layers, the moisture problem, the flatness math, and the prep work that turns a five-year floor into a twenty-five-year one.
Quick Answer
The subfloor is the structural layer that supports your finished floor: in Paradise, that’s almost always a concrete slab, sometimes topped with a vapor barrier, self-leveling compound, and an underlayment suited to the product you chose. Moisture, flatness, and what’s bonded to the slab determine how well your new floor performs. Get all three right and the floor lasts. Skip one and the material gets blamed for a subfloor failure.
Styles & brands we work with
- Hardwood
- Engineered hardwood
- Luxury vinyl plank
- Laminate
- Porcelain tile
- Carpet
- Shaw
- Mohawk
- COREtec
- Pergo
Table of Contents
- The Anatomy of a Paradise-Area Slab Subfloor
- Why Concrete Slabs in Paradise Still Produce Moisture Vapor
- Flatness Tolerances Explained: The 3/16-Inch-in-10-Feet Standard
- What Old Adhesive, Previous Tile, and Legacy Padding Do to a New Install
- Prep Methods: How Installers Correct a Bad Slab
- How to Have a Productive Subfloor Conversation With a Contractor
- Frequently Asked Questions
The Anatomy of a Paradise-Area Slab Subfloor
In Paradise, the “subfloor” is usually a slab on grade. There’s no crawlspace, no basement, no wood joist system under most homes. From the bottom of your finished floor up, here’s what’s actually there:
- The concrete slab itself. Poured on grade, often post-tensioned. It’s the structural floor, and its surface is what every other layer sits on.
- The vapor barrier. A sheet or membrane either embedded under the slab (installed during construction) or applied on top of it before flooring goes down. Its job is to stop ground moisture from migrating upward into your finish floor. On older Paradise homes without an under-slab barrier, we add a top-side membrane.
- Self-leveling compound (SLC). A pourable cementitious product used to correct dips and flatness. It cures hard and bonds to the slab, and it’s what turns an uneven surface into something floorable.
- Underlayment or primer. The specific layer depends on the product: an underlayment pad under floating LVP, a crack-isolation membrane or modified thinset bed under tile, a moisture-tolerant pad under carpet.
- The finished floor. Plank, tile, carpet, or wood. It’s the only layer anyone sees, but it depends on every layer beneath it.
Each layer solves a specific problem. The barrier handles moisture. The SLC handles flatness. The underlayment handles impact, sound, and product-specific separation from the slab. Skip any of these and you’re asking the finished floor to do a job it wasn’t engineered for.
If you’re remodeling a room and haven’t settled on a product type yet, that’s fine. What matters now is knowing that every product – from a soft carpet installation to a rigid tile floor – has its own requirements for the layers below it. Different floors, different prep.
Why Concrete Slabs in Paradise Still Produce Moisture Vapor
Homeowners often assume the desert means dry concrete. It doesn’t. Moisture vapor emission is one of the most common hidden issues on Paradise slabs, and it’s what you can’t see that causes LVP to bubble, adhesive to fail, and hardwood to cup.
Here’s the mechanism. Concrete is porous. Moisture from soil beneath the slab, from irrigation on the exterior of the home, and from the concrete’s own curing process migrates upward through the slab toward the drier air above. That upward flow is called moisture vapor emission. It happens regardless of the surface climate because the driver isn’t humidity in the air – it’s the moisture gradient between the soil and the slab’s top surface.
Paradise homes on washed or irrigated lots, homes with planters up against the exterior wall, and homes built before under-slab vapor barriers were standard all tend to see elevated emission. Slabs poured decades ago and never tested are worth testing before any new floor goes down.
Installers measure emission rate using a calcium chloride test or an in-situ relative humidity probe embedded in the slab. Both methods return a number that gets compared against the flooring manufacturer’s requirement. If the slab reads high, the plan changes: a moisture-mitigating coating, an enhanced vapor barrier membrane, or a product selection that tolerates more vapor.
This is where a trained installer matters most. Karndean and Daltile products, for instance, are specified by manufacturers who expect the installer to know what they’re prepping for. A slab that gets a fresh set of COREtec waterproof planks without a moisture check is a slab waiting to fail.
Flatness Tolerances Explained: The 3/16-Inch-in-10-Feet Standard
Flatness is the second thing most homeowners underestimate. “The slab looks level to me” is not the same as flat. A slab can slope gently toward a drain and still be flat. It can also look flat and fail a tolerance check by a quarter inch in a single room.
The industry’s benchmark for most hard surface flooring is 3/16 inch over 10 feet – meaning the slab’s surface can rise or fall no more than roughly that amount across any 10-foot span. That’s less than a stack of three nickels. Anything beyond that creates problems for the finished product.
What that means in practice depends on what you’re installing:
- Luxury vinyl plank and rigid core (COREtec, LifeProof, Karndean’s looselay lines): less forgiving than most. Floating planks over a dip can flex underfoot and stress the locking joint. Over a hump, they can bridge and clack against the slab. Flatness matters more for these than for glue-down products.
- Tile: needs a flat substrate for the thinset bed to be even. Daltile porcelain over a wavy slab means uneven lippage at the edges of each tile. Ceramic can handle slightly more movement but not unevenness.
- Hardwood and engineered wood: any unavoidable movement in the slab telegraphs up through the planks. Flatness plus moisture are both non-negotiable here.
- Carpet: the most forgiving of the four, because the pad absorbs minor undulations. Even so, sharp dips catch the stretcher and lumps read underfoot.
An installer checks flatness with a 10-foot straightedge and a feeler gauge, or with a laser and target. If the slab exceeds tolerance, a self-leveling pour over the affected area brings it into spec. In our experience, most Paradise slabs built before the early 2000s will need some leveling work done before a hard surface install, and that should be quoted as a separate line in the estimate, not folded silently into the install price.
What Old Adhesive, Previous Tile, and Legacy Padding Do to a New Install
Old floors leave residue. If you’re replacing an existing floor in a Paradise home, the slab you’re starting from is almost never bare. It has whatever the last installer left, and each of those leftovers affects the new floor.
Here’s what you’re typically dealing with:
- Old adhesive. Cutback adhesive from 1970s-80s vinyl, mastic from carpet tack strips, or contact cement from a previous glue-down. Some adhesives are water-sensitive and break down when a new mortar bed goes over them; others are hard enough to survive but create high spots. All of them need to be evaluated, and some need to be mechanically removed or encapsulated with a primer.
- Previous tile thinset. Old thinset that wasn’t fully removed creates ridges and dips. A skim coat over these helps, but the ridges themselves are what a new floor sits on. On hard surfaces, a self-leveling pour over the whole affected area is often the cleaner fix.
- Legacy carpet padding. Leftover padding foam, staple rows, and the residue from old tack strips leave a slab pockmarked. Padding foam degrades over time but the oils and adhesive residue can interfere with new adhesive bonds and moisture barrier films.
- Old crack repairs and patches. Hydraulic cement patches from prior crack repairs bond differently than a new membrane, and they can telegraph through a floating floor if not leveled first.
If you’re moving from an older carpet floor to a tile flooring installation, legacy adhesive and staple residue under the previous pad are very often the cause of lippage in the new installation. Prep on a recycled slab isn’t optional; it’s the foundation of the whole job.
Prep Methods: How Installers Correct a Bad Slab
Once the slab has been tested and evaluated, prep is a menu of methods rather than a single step. Here’s how a typical Paradise subfloor correction sequences out:
- Clean and flatten. Scrape up residual adhesive, staples, and debris. Grind any high spots down to grade. The slab has to be sound before anything goes over it.
- Repair cracks and divots. Fill any large voids, honeycombed patches, and open cracks with a patching compound compatible with the next layer.
- Address moisture. If emission testing came back high, apply a moisture-mitigating coating or a membrane rated for the measured vapor drive. The chosen product’s spec sheet dictates which membrane is compatible.
- Level. Pour self-leveling compound over any dip or wavy area, or skim the entire room if the slab is broadly out of tolerance. SLC cures to a hard surface and becomes the new subfloor surface.
- Prime and bond. Apply a primer that matches the underlayment or adhesive going over the slab.
- Install the underlayment layer. Pad, membrane, thinset bed, or none, depending on product.
- Acclimate and check again. Wood and LVP need to sit at the room’s conditions before install. The slab’s flatness and moisture can still change between now and install day, so verify.
That sequence is why a proper flooring project takes a booked install day, not a walk-in. The prep is the job, and prep done right is what protects a Paradise home from the failures that show up twelve months later. A shameless reminder for anyone reading this: restore what you have before you replace it, when the subfloor will support restoration. Refinishing existing hardwood is often the smarter call – but only after the subfloor underneath it has been inspected.
How to Have a Productive Subfloor Conversation With a Contractor
The estimate visit is your chance to learn more about the subfloor than the finished floor. Ask these questions before you sign off, and see how the answers stack up.
Questions worth asking:
- “How will you measure moisture in the slab, and what will you do with the numbers?” A specific answer – calcium chloride test, in-situ RH probe, thresholds compared to the product’s spec – is a good sign. “We’ll check it” is not enough.
- “How will you measure flatness, and what’s the tolerance you’re aiming for?” Expect the 3/16-inch-in-10-feet benchmark or a tighter figure tied to the product.
- “What’s on my slab now, and how will you handle it?” Adhesive, old thinset, staple residue, patches. If the contractor isn’t already naming what’s under your current floor, they haven’t looked.
- “Is subfloor prep a separate line item in the estimate?” It should be. Prep is real work, and it belongs in the written scope.
- “Which vapor barrier or moisture-mitigating product are you using, and why that one for this slab?”
- “If the slab needs self-leveler, how much and where?”
- “What happens if the subfloor turns out worse than the estimate assumed?” A fair answer explains how changes get priced and approved before work continues.
Red flags to watch for:
- Prep quoted as “included” with no line item or explanation.
- No mention of moisture testing at all.
- A bid that goes straight to “we’ll lay it right over what’s there” without naming what’s there.
- Willingness to install on a slab that’s visibly cracked or has an unknown patch without a plan for either.
At Flooring Installation Paradise, our technicians have up to 14 years of experience and we’re experienced across all nine of the brands we carry – Shaw, Mohawk, COREtec, Pergo, LifeProof, Mannington, Armstrong, Daltile, and Karndean. One crew, one estimate, one scope of work for the whole floor plan. We install and we refinish, so the subfloor conversation happens with the same team that will do the work.
Common Mistakes to Avoid
- Skipping the moisture test. “It’s dry here” is the most expensive assumption on a Paradise slab. Concrete pulls moisture regardless of air humidity, and a skipped test is the cause of most failed LVP and adhesive installs we see.
- Confusing “level” with “flat.” A gently sloped slab can be perfectly flat and fine. A visually flat slab can fail the 3/16-inch tolerance check. They’re different measurements, and only one of them matters for your install.
- Installing over old adhesive without evaluation. Some adhesives fail under new thinset, some are stable. A contractor who doesn’t ask what’s underneath is not prepping your floor.
- Hiding prep costs in the “install” line. Self-leveling compound and moisture membranes are real materials with real labor. If prep isn’t broken out in the estimate, it either wasn’t planned or isn’t being done.
- Choosing a product before the slab is evaluated. Hardwood wants a flatter, drier slab than carpet does. Pick in the wrong order and you’ll prep a slab for one product, then pick another.
- Assuming a floating floor “self-levels” over small dips. Rigid-core planks (COREtec and LifeProof included) are durable but not corrective. They follow the surface they sit on.
- Forgetting that old tile needs removal, not overlay on top. Overlaying new floor on old adds height at doorways, at baseboards, and at transitions – almost always more trouble than clean removal and proper subfloor prep.
See the difference
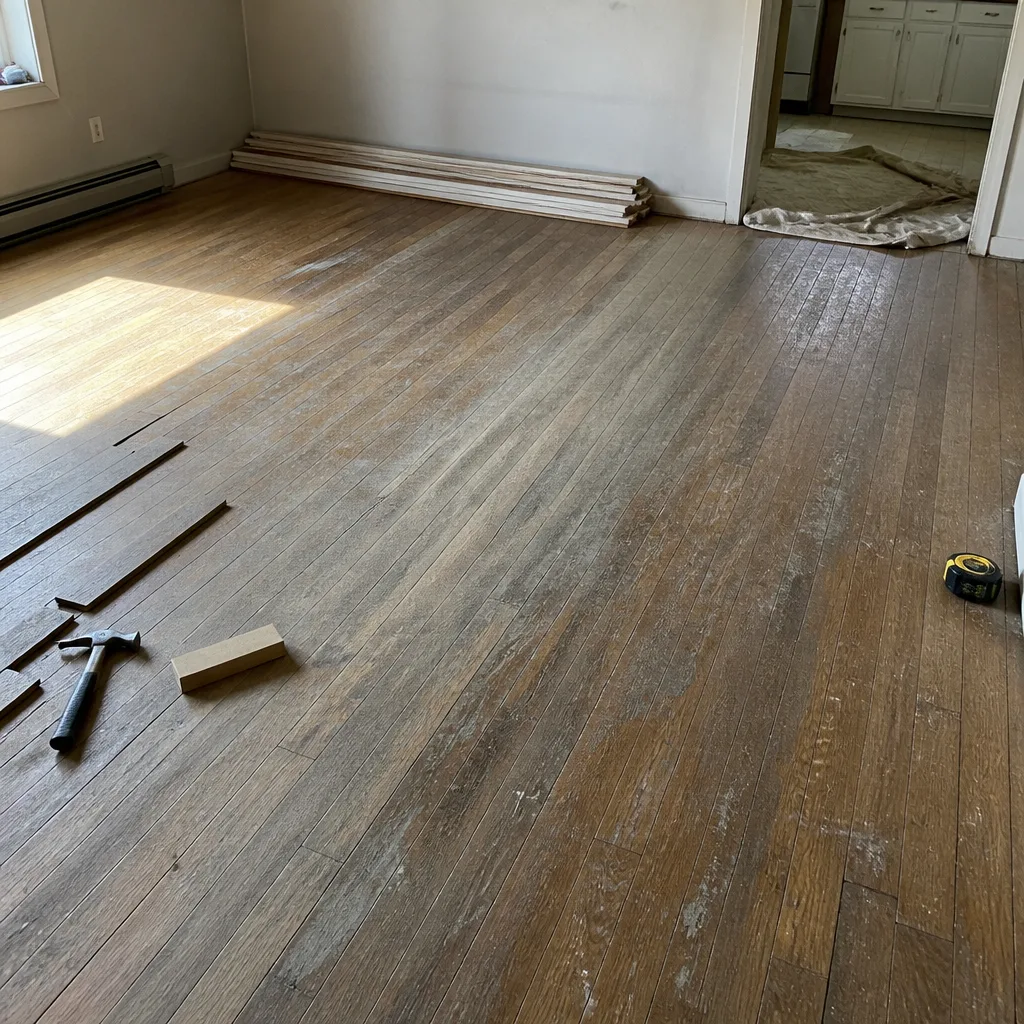 Before
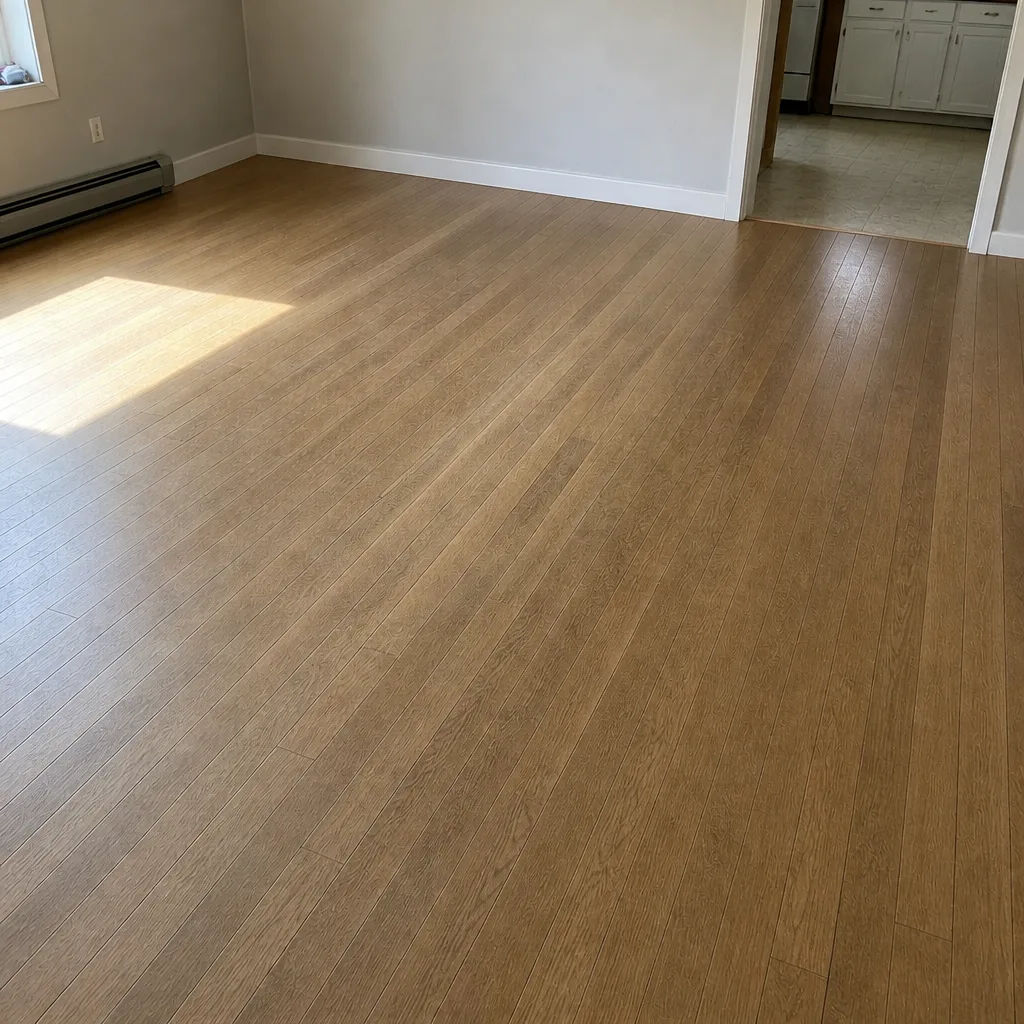 After
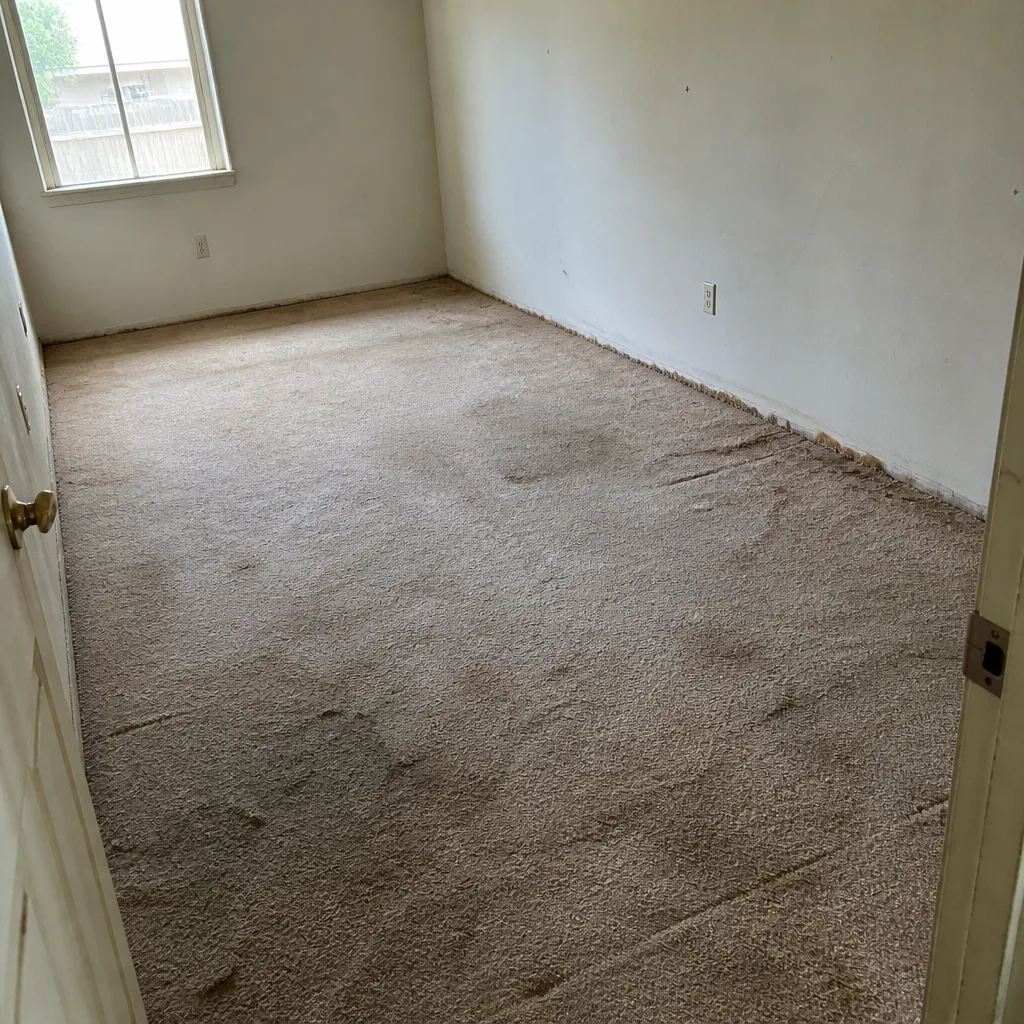 Before
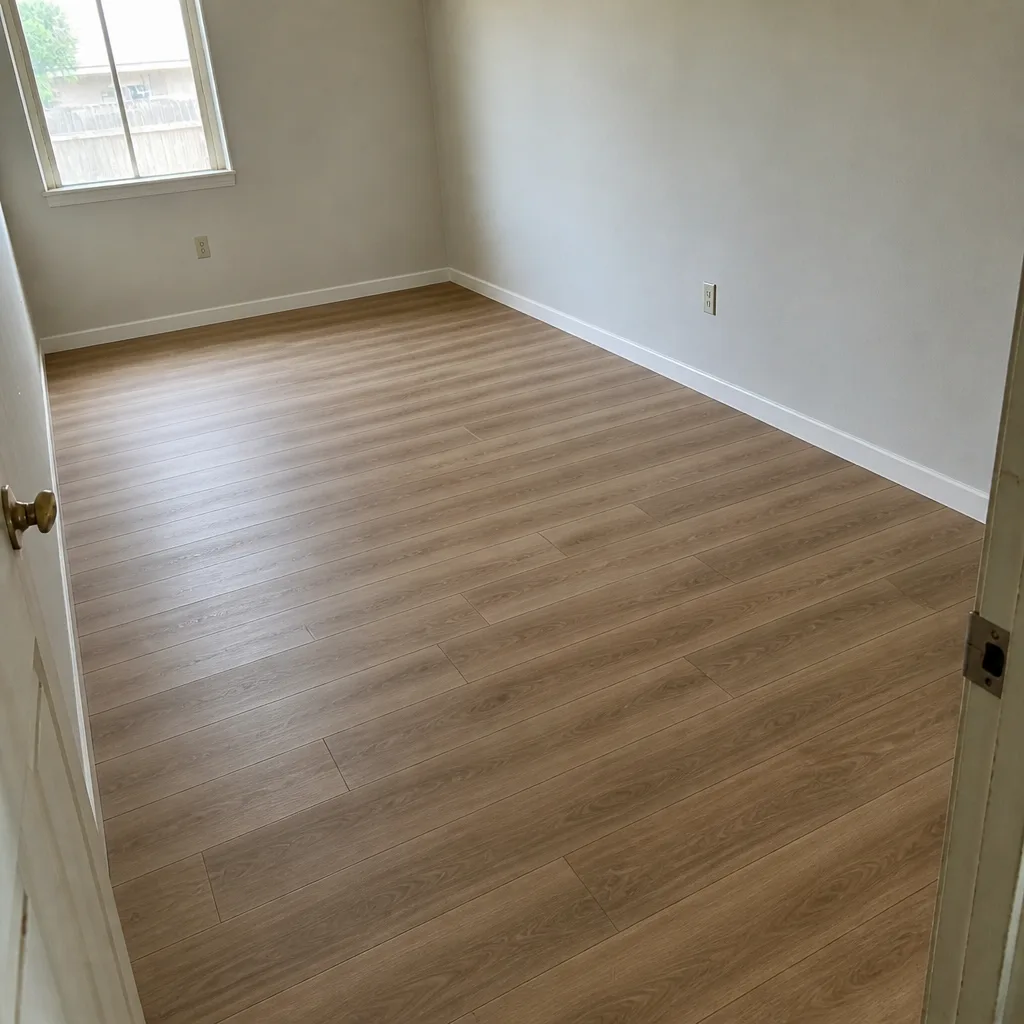 After
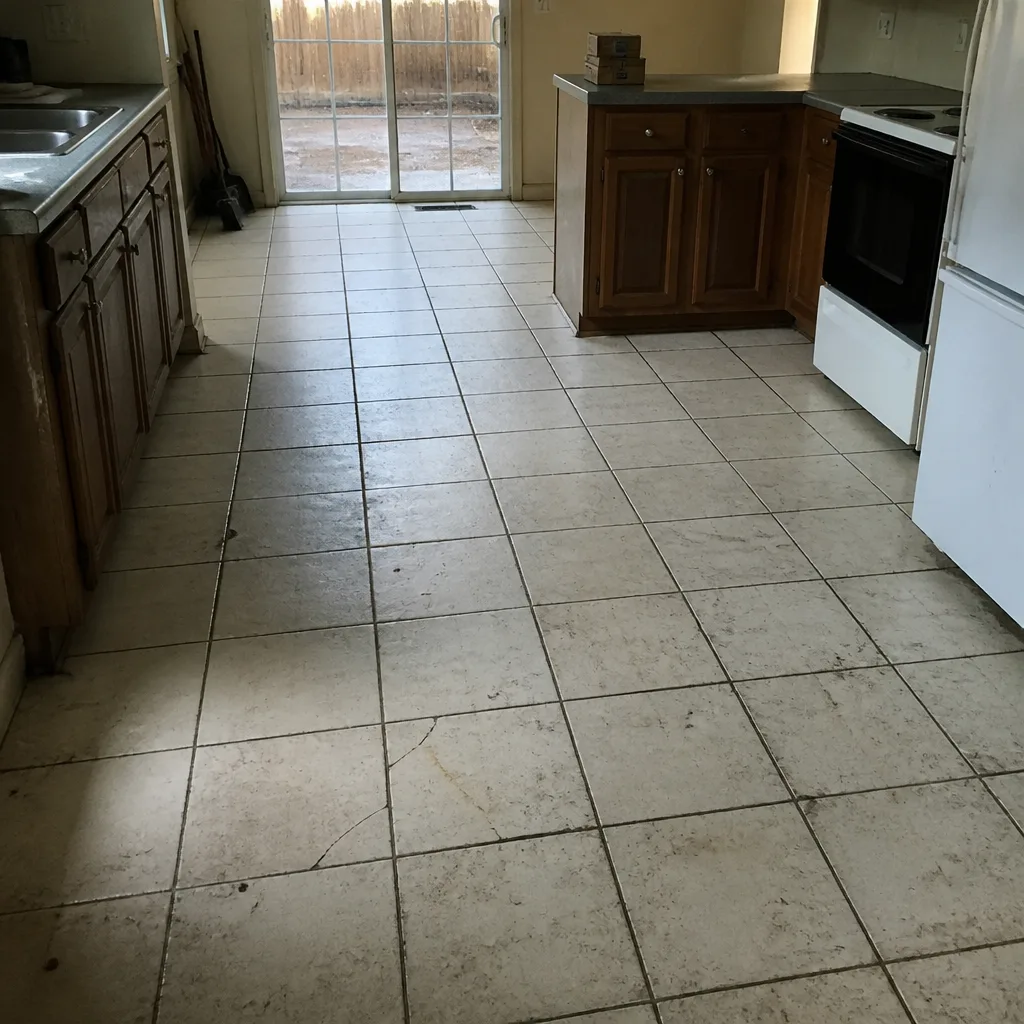 Before
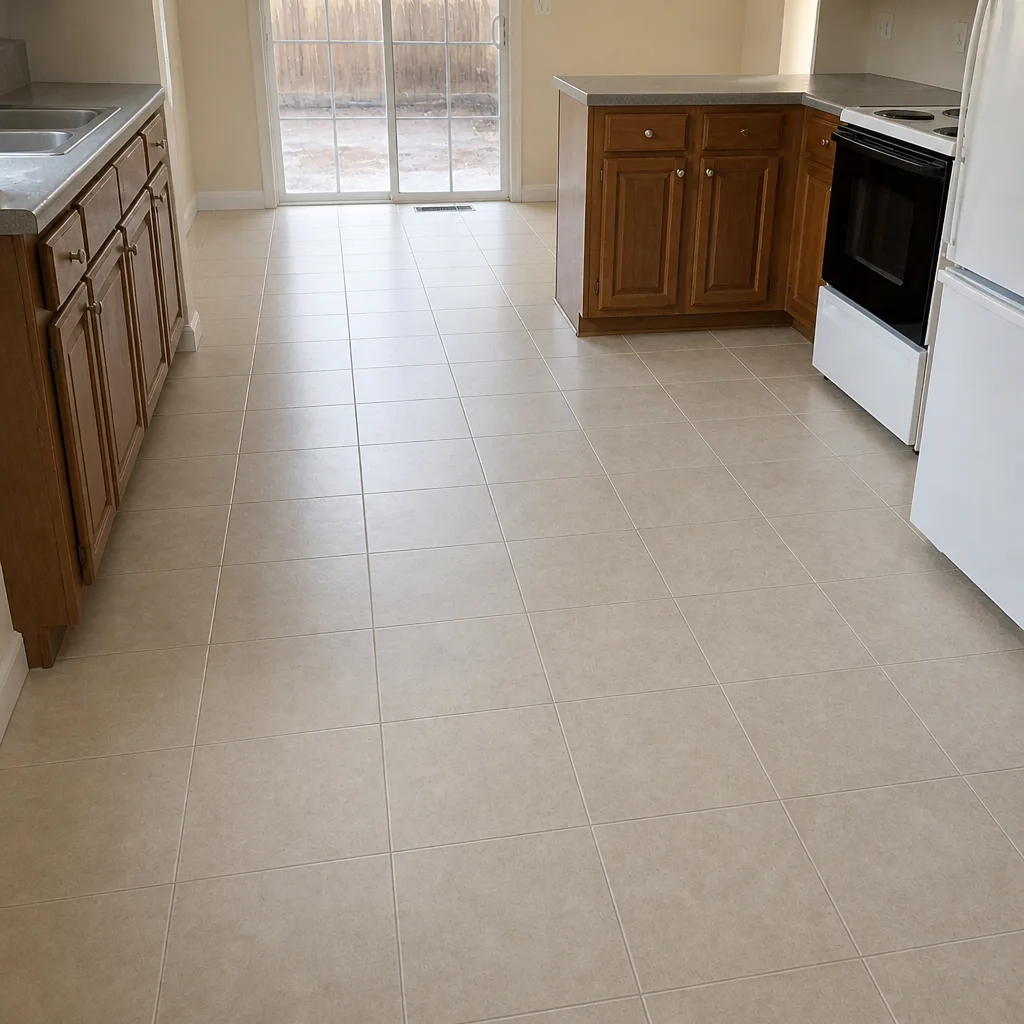 After
When to Call a Professional
Any of these situations means it’s time to have the subfloor evaluated, not just the floor: visible cracks wider than a hairline in the slab, a floor that’s visibly heaved or dipped in one section, a previous floor that failed early (bubbled LVP, cracked grout, cupping hardwood), any home without a documented under-slab vapor barrier, a room that’s been flooded or had a slow leak under it, or a floor you’re about to install that costs more than the room’s furniture. Each of those is a subfloor conversation first, and a product conversation second. If the work involves tile or engineered wood on a slab with unknown moisture, don’t roll the dice. Flooring Installation Paradise offers free estimates in Paradise – call (888) 343-1639. We answer 24/7. Fast dispatch from 7am to 7pm, Sunday through Friday.
Frequently Asked Questions
Almost every Paradise home sits on a concrete slab on grade. Some have an under-slab vapor barrier from construction, some don’t, and a smaller number have a finished slab with old adhesive or thinset residue on top. Wood joist subfloors are rare here compared to slab.
Yes. Moisture vapor emission happens from soil and curing, not from desert humidity, and it causes the same failures here as anywhere else. A calcium chloride test or in-situ RH probe gives you a number to compare against the product’s spec, and that number drives whether a membrane is needed. Call (888) 343-1639 to schedule a free estimate that includes a moisture check.
It means the slab’s surface can rise or fall no more than roughly 3/16 inch across any 10-foot span. That’s tight – less than three stacked nickels. Rigid-core LVP, tile, and hardwood all sit better on a slab at or under that tolerance; carpet forgives more. If the slab fails the check, a self-leveling pour brings it into spec.
Sometimes, but only after evaluation. Old adhesive can be stable enough to encapsulate, or it can break down under a new mortar bed. Old thinset ridges are almost always a problem for a new floor sitting on top of them. The safe path – and what we’ll recommend in most cases – is proper removal and slab prep before the new floor goes down.
Only if the padding residue wasn’t fully removed. Old padding foam, staple rows, and tack-strip residue leave the slab pockmarked, and those marks telegraph through thinset and floating floors. Prep before install removes all of it. That’s why prep is quoted as its own line item.
A written subfloor prep scope should include: moisture test results and the mitigation product specified, flatness measurements and any leveling plan, removal of legacy adhesive or thinset, patch and crack repairs, primer, and the underlayment specified for your chosen floor. If any of those is missing from the written estimate, ask why before you approve it. Call (888) 343-1639 for a free estimate that spells it out.
The Bottom Line
What sits under your new floor is doing more work than the floor itself. In Paradise, that layer is almost always a concrete slab, and the three things that determine success are moisture, flatness, and what’s already on it. Test the slab before you choose a product. Measure flatness against the 3/16-inch-in-10-feet standard, not a visual check. Remove and correct legacy adhesive, thinset, and padding residue, and price that prep as its own line item. Get a written scope of work for the subfloor as well as the floor. When those foundations are right, the finished floor – whether it’s COREtec, Karndean, Shaw, or anything else on our Flooring Installation Paradise roster – gets to do the job it was engineered for: lasting far longer than the room’s furniture and holding up to real life. For a free estimate on the whole job, call (888) 343-1639. We answer 24/7. Fast dispatch from 7am to 7pm, Sunday through Friday.
Written by the team at Flooring Installation Paradise.